How to Do a Waterfall Braid for a Stunning New Look
Want a hairstyle that looks effortlessly elegant but secretly feels like a work of art? The waterfall braid is your answer. It’s soft, romantic, and perfect for everything from casual days out to weddings—and the best part? Once you get the hang of it, it’s surprisingly easy to do.
If you’ve ever admired those cascading strands that seem to “fall” through a braid like a dreamy waterfall, you’re about to learn exactly how to recreate that magic yourself.
What Is a Waterfall Braid?
Before we dive in, let’s quickly break it down.
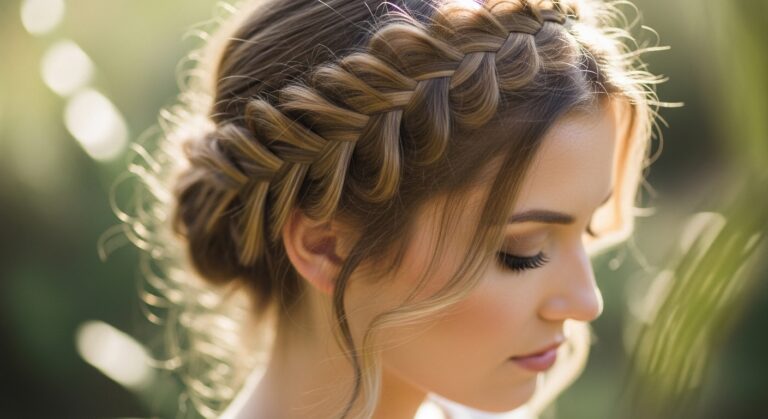
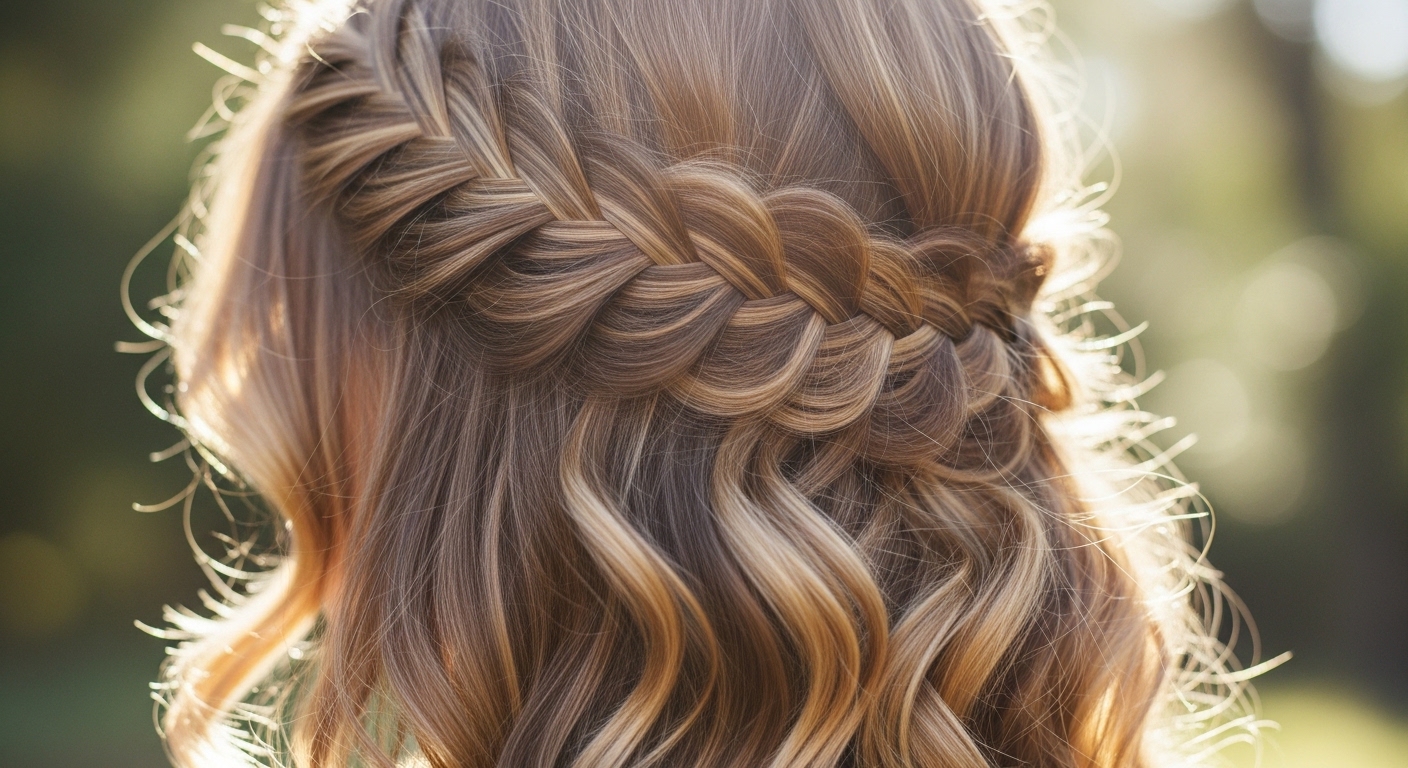
A waterfall braid is a variation of a French braid where you drop one section of hair in each step, letting it fall freely creating that signature cascading effect.
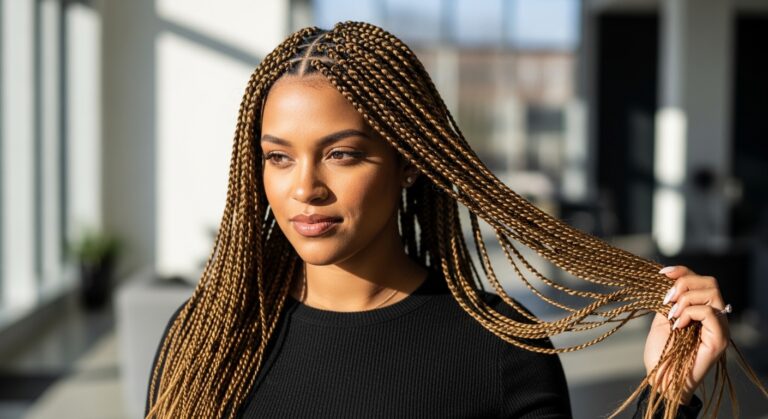
It works beautifully on medium to long hair and suits straight, wavy, or slightly curled textures. Whether you’re heading out for a casual day or dressing up for a special occasion, this style fits right in.
What You’ll Need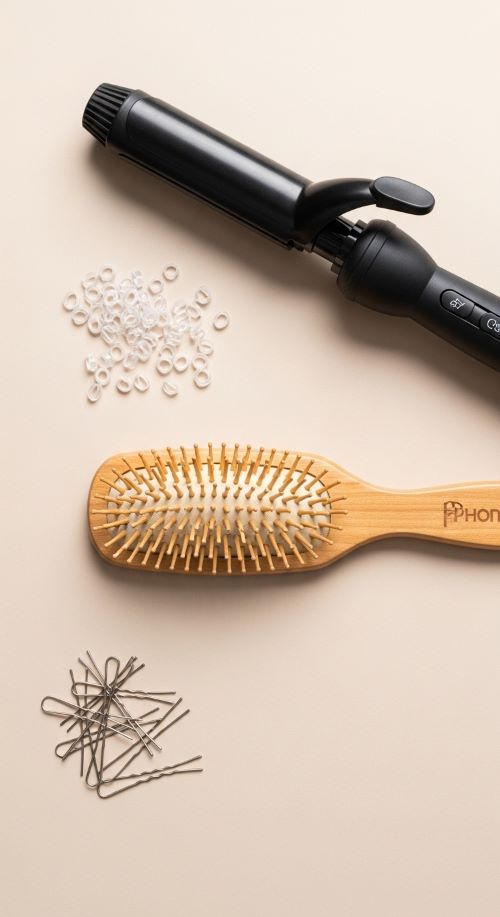
Good news—you don’t need much to get started.
You’ll want a brush or comb to detangle your hair, a few hair ties if you prefer extra security, and some bobby pins for finishing touches. A light hairspray can help hold everything in place, especially if your hair is silky. If you’re new to braiding, using a mirror—or even two—will make the process much easier.
Step-by-Step: How to Do a Waterfall Braid
Let’s break it down into simple, manageable steps.
Step 1: Prep Your Hair
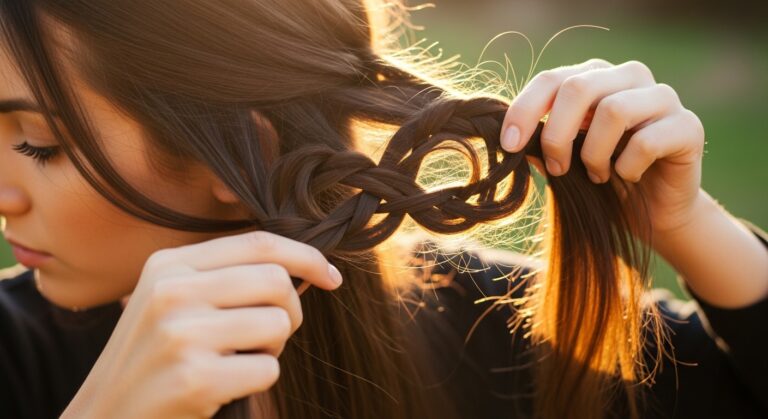
Start with clean, tangle-free hair. You can leave it straight for a sleek finish or add loose curls for more texture and volume. Slightly textured hair actually helps the braid stay in place better, so don’t worry if it’s not perfectly smooth.
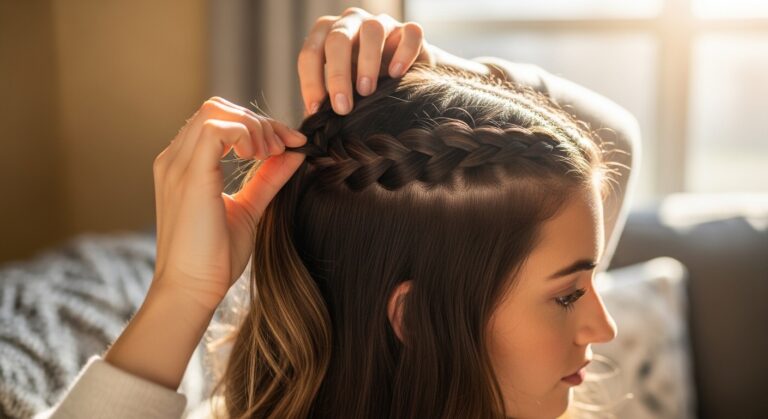
Step 2: Start Like a French Braid
Take a small section of hair from the front near your hairline and divide it into three equal strands. Begin a basic braid by crossing the top strand over the middle, then the bottom strand over the middle. At this stage, it’s just like a regular braid.
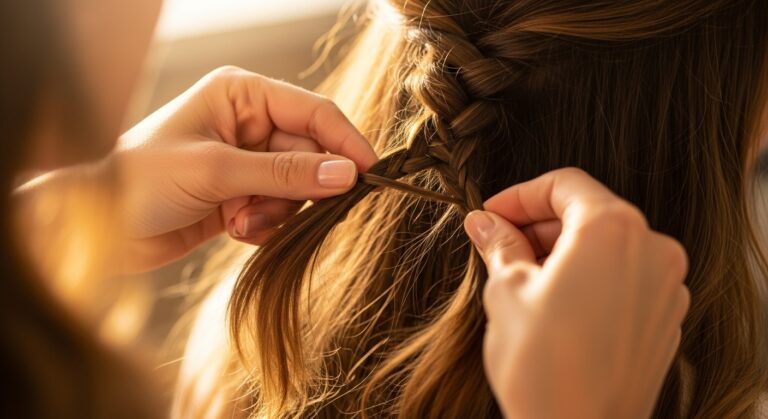
Step 3: Create the “Waterfall” Effect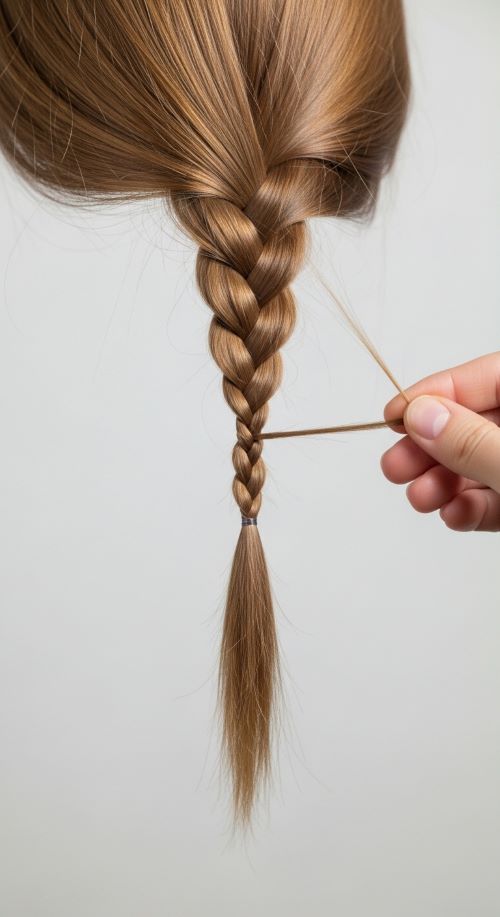
Here’s where the magic begins.
As you continue braiding, drop the bottom strand completely and let it hang down. This creates the “waterfall” look. Then, pick up a new section of hair right behind the dropped strand to replace it. Continue braiding as usual, repeating this process as you go.
Step 4: Continue Around the Head
Keep braiding across the back or side of your head, maintaining even tension and consistent sections. Make sure each dropped strand flows naturally so the braid looks soft and seamless. You can braid straight across or angle it slightly downward for a more relaxed, romantic feel.
Step 5: Secure the Braid
Once you reach your desired stopping point, finish the braid normally and secure it with a small hair tie. Alternatively, you can pin it discreetly behind your ear with bobby pins for a more polished look.
To add volume, gently pull at the braid with your fingers. This softens the style and gives it that effortless, fuller appearance.
Tips for a Flawless Waterfall Braid
If your first attempt doesn’t turn out perfect, that’s completely normal. Using two mirrors can help you see the back of your head more clearly as you braid. Starting with a side braid instead of going all the way around can also make learning easier.
Adding loose curls before you begin will enhance the overall look and make the braid appear more detailed. And remember, a slightly messy braid often looks more natural and stylish than one that’s overly tight or precise.
Styling Ideas to Try
Once you’ve mastered the basic technique, there are plenty of ways to make the waterfall braid your own.
You can try creating two waterfall braids stacked above each other for a more intricate style. Another option is to combine the braid with a half-up hairstyle, pairing it with a bun or ponytail. For a boho-inspired vibe, adding small flowers or decorative clips works beautifully. If you’re going for something more formal, soft curls paired with the braid create an elegant, event-ready look.
Common Mistakes (And How to Fix Them)
It’s easy to run into small issues when learning this braid, but they’re simple to fix. If your braid feels too tight, gently loosen it with your fingers to create a softer look. If strands keep slipping, a bit of texturizing spray can help add grip. And if your sections look uneven, slowing down and using a comb to part your hair neatly can make a big difference.
Final Words
The waterfall braid is one of those hairstyles that looks far more complicated than it really is, which makes it all the more rewarding to learn. Once you get comfortable with the rhythm of dropping and replacing strands, the process becomes smooth and even relaxing.
So grab your brush, find a mirror, and give it a try. With a little practice, this stunning braid might just become your new favorite hairstyle.