How to Twist Out Curly Hair for Gorgeous Definition
There’s something magical about a perfect twist-out soft, bouncy curls with definition that lasts for days. If you’ve ever struggled with frizz, flatness, or uneven curls, you’re not alone. The good news? With the right technique (and a little patience), you can master the twist-out and make your curls look effortlessly stunning.
Let’s break it down step by step so you can get salon-worthy results right at home.
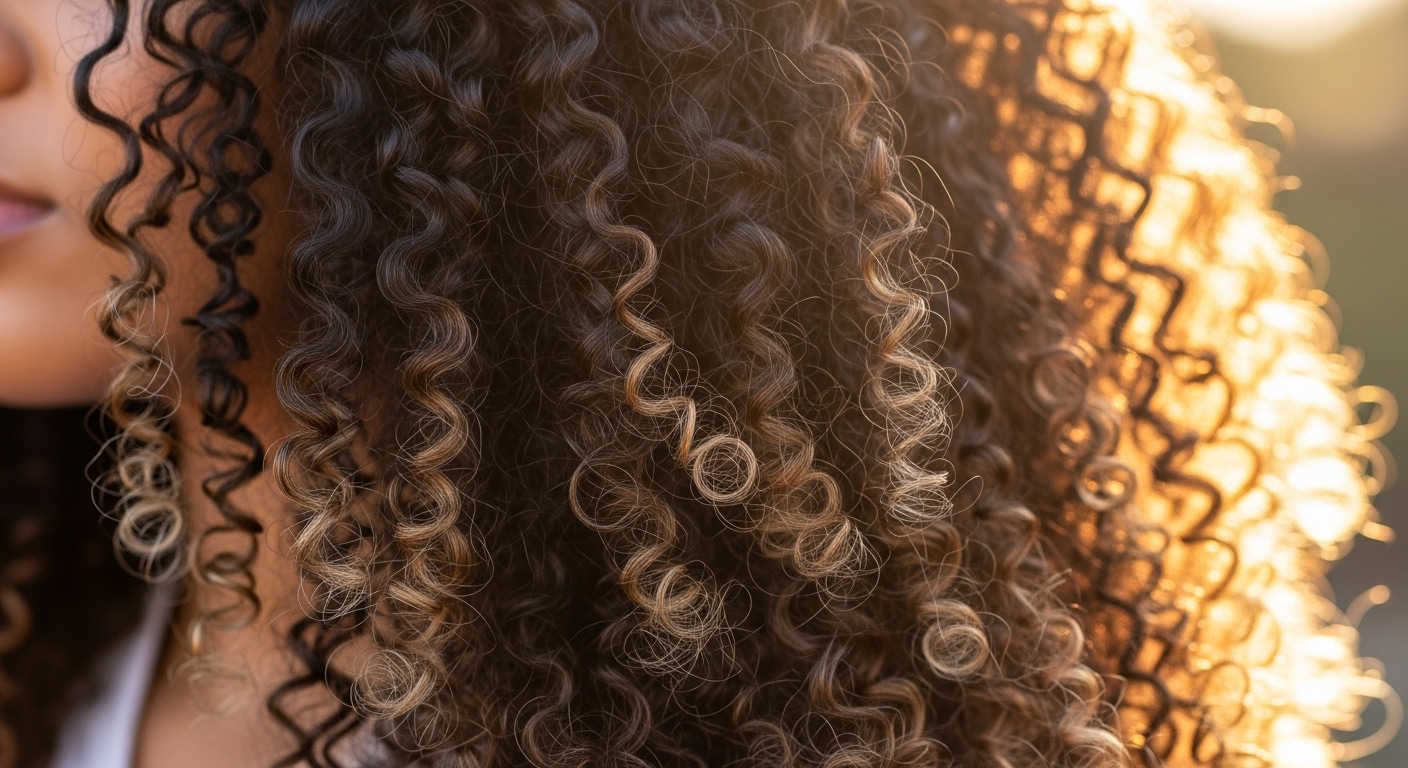
What Is a Twist-Out?
A twist-out is a styling method where you twist damp hair into sections, let it dry, and then unravel the twists to reveal defined curls.
It works especially well for natural hair, transitioning hair, and anyone looking for a heat-free styling option. The result is fuller, more defined curls with minimal damage.
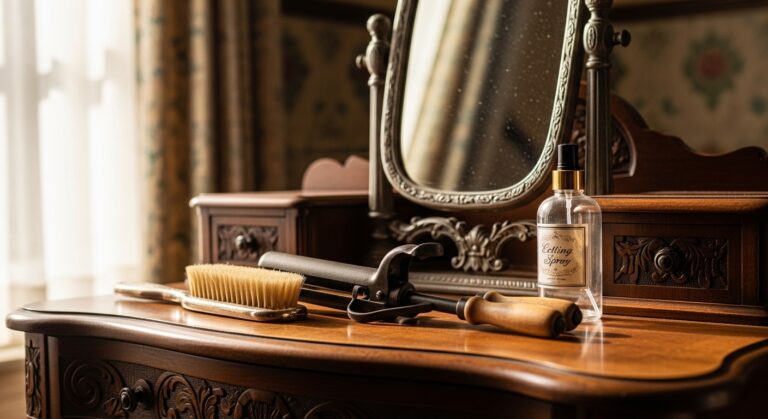
What You’ll Need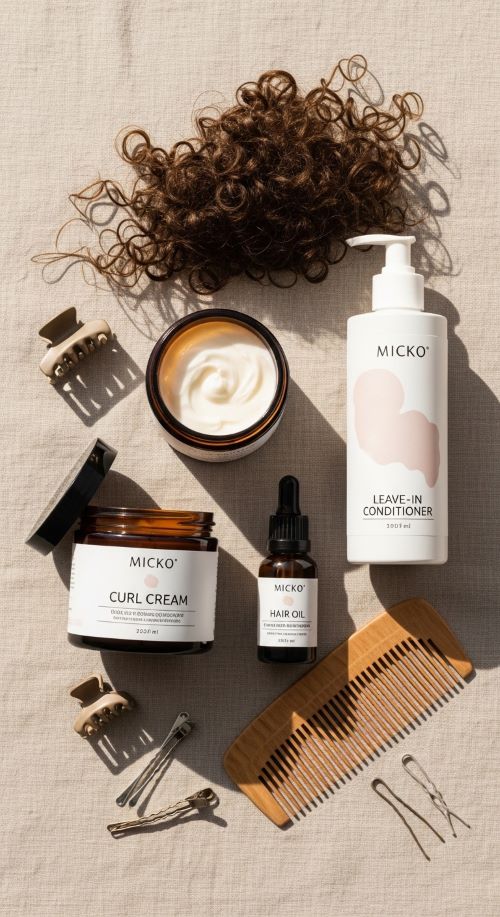
Before you begin, gather your essentials. Having the right products makes all the difference.
You’ll need a moisturizing shampoo and conditioner, a leave-in conditioner, a curl cream or butter, a lightweight oil such as argan or jojoba, a wide-tooth comb, and some hair clips or ties.
Choosing products that match your hair type is key. Thicker hair often benefits from richer creams, while finer textures respond better to lightweight formulas.
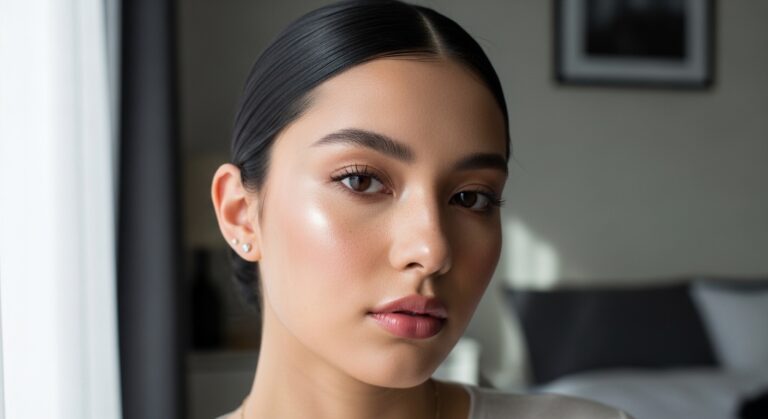
Step 1: Start with Clean, Damp Hair
Freshly washed hair creates the perfect base for a twist-out. Begin by cleansing and conditioning your hair thoroughly. While your conditioner is still in, gently detangle to remove knots and ensure smooth sections later.
After rinsing, use a towel or a cotton T-shirt to dry your hair slightly. Your hair should be damp but not dripping wet before you move on to styling.
Step 2: Apply Your Products
Layering your products properly helps lock in moisture and define your curls. Start by applying a leave-in conditioner evenly through your hair. Follow that with a curl cream or styling butter to enhance definition. Finish with a light oil to seal everything in.
Work in sections so every strand gets coated evenly. Be mindful not to use too much product, as this can weigh your hair down and reduce volume.
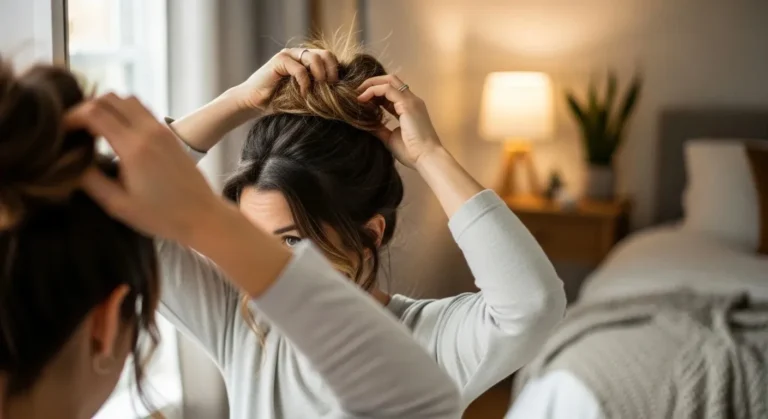
Step 3: Create the Twists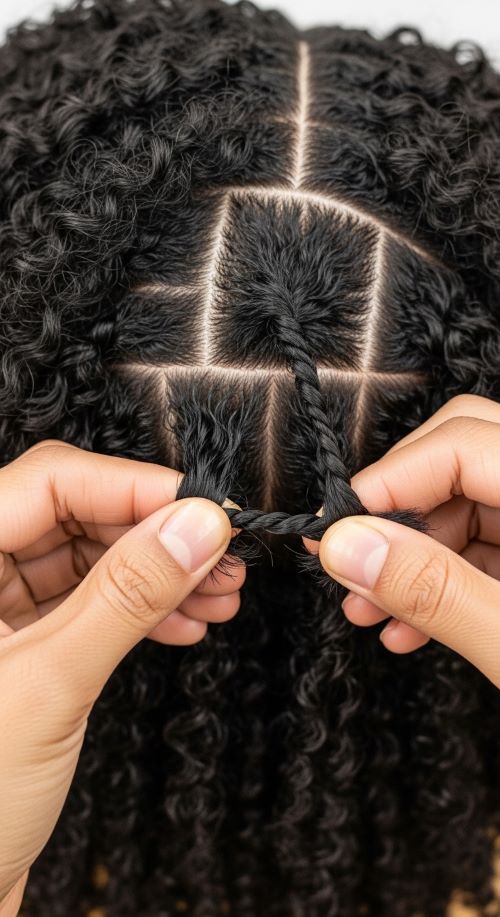
Now comes the core of the process. Divide your hair into small to medium sections, depending on how defined you want your curls to be. Take one section and split it into two equal strands, then twist them around each other from the root all the way to the ends.
Continue this process across your entire head, keeping your tension consistent as you twist. Smaller sections typically result in tighter, more defined curls, while larger sections create a looser look.
Step 4: Let Your Hair Dry Completely
Patience is essential during this stage. Allow your hair to dry fully before unraveling the twists. You can let your hair air dry overnight or use a hooded dryer if you’re short on time.
It’s important that your hair is completely dry. Even a little dampness can cause frizz and reduce the definition of your final style.
Step 5: Take Down the Twists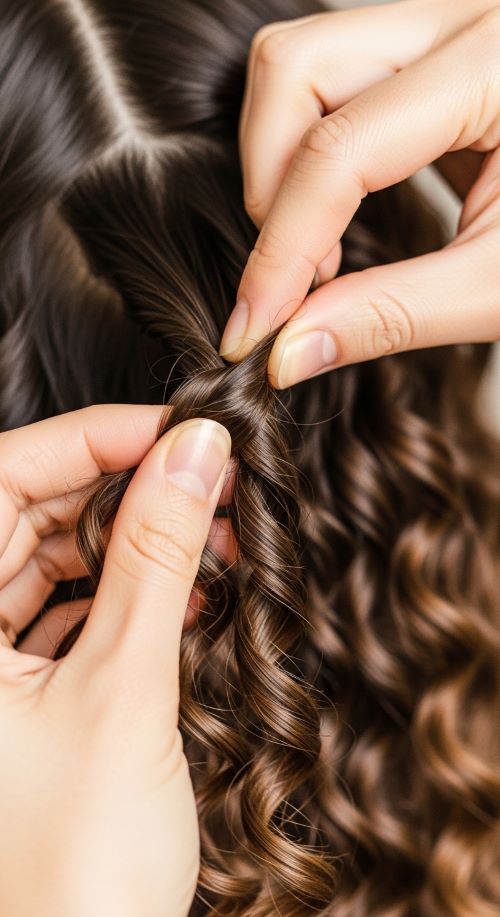
Once your hair is fully dry, it’s time to reveal your curls. Apply a small amount of oil to your fingers to minimize friction, then gently unravel each twist.
Take your time and avoid pulling too hard, as this can disturb the curl pattern and create frizz. You can lightly separate the curls to add more volume and fullness.
Step 6: Fluff and Style
After all your twists are undone, you can shape your hair to your liking. Use your fingers or a pick to gently lift the roots and create volume. Lightly shake your hair to loosen the curls and give them a more natural look.
For extra volume, flip your head forward and fluff from the roots. This adds bounce and movement to your style.
Common Mistakes to Avoid
There are a few common mistakes that can affect your twist-out results. Unraveling your twists too early often leads to frizz, while using too much product can make your hair look heavy and greasy. Skipping proper detangling can cause uneven sections, and making twists too large may reduce curl definition.
Paying attention to these details can make a big difference in your final look.
How to Make Your Twist-Out Last Longer
To keep your curls looking fresh for days, protect your hair while you sleep by using a satin bonnet or pillowcase. You can also gather your hair into a loose high ponytail, often called the “pineapple” method, to maintain volume.
Refreshing your curls with a light mist of water and a bit of leave-in conditioner can help revive your style. With proper care, your twist-out can last several days while still looking defined and soft.
Final Words
A twist-out is more than just a hairstyle—it’s a simple and effective way to enhance your natural curls without heat. With the right technique and a little practice, you can achieve consistent, beautiful results every time.
Save this guide for later and make your next hair day your best one yet!