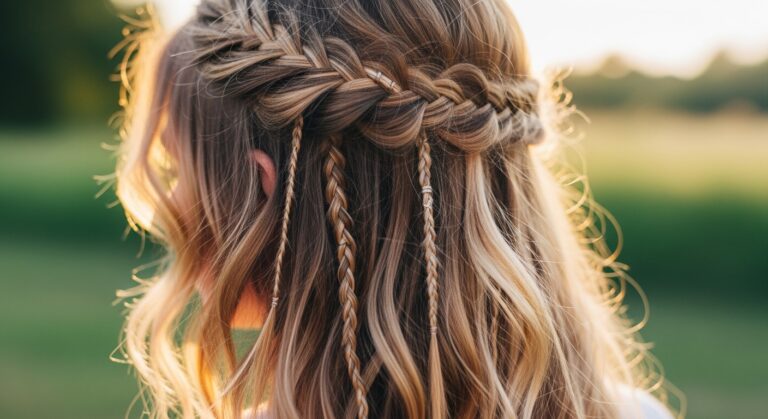
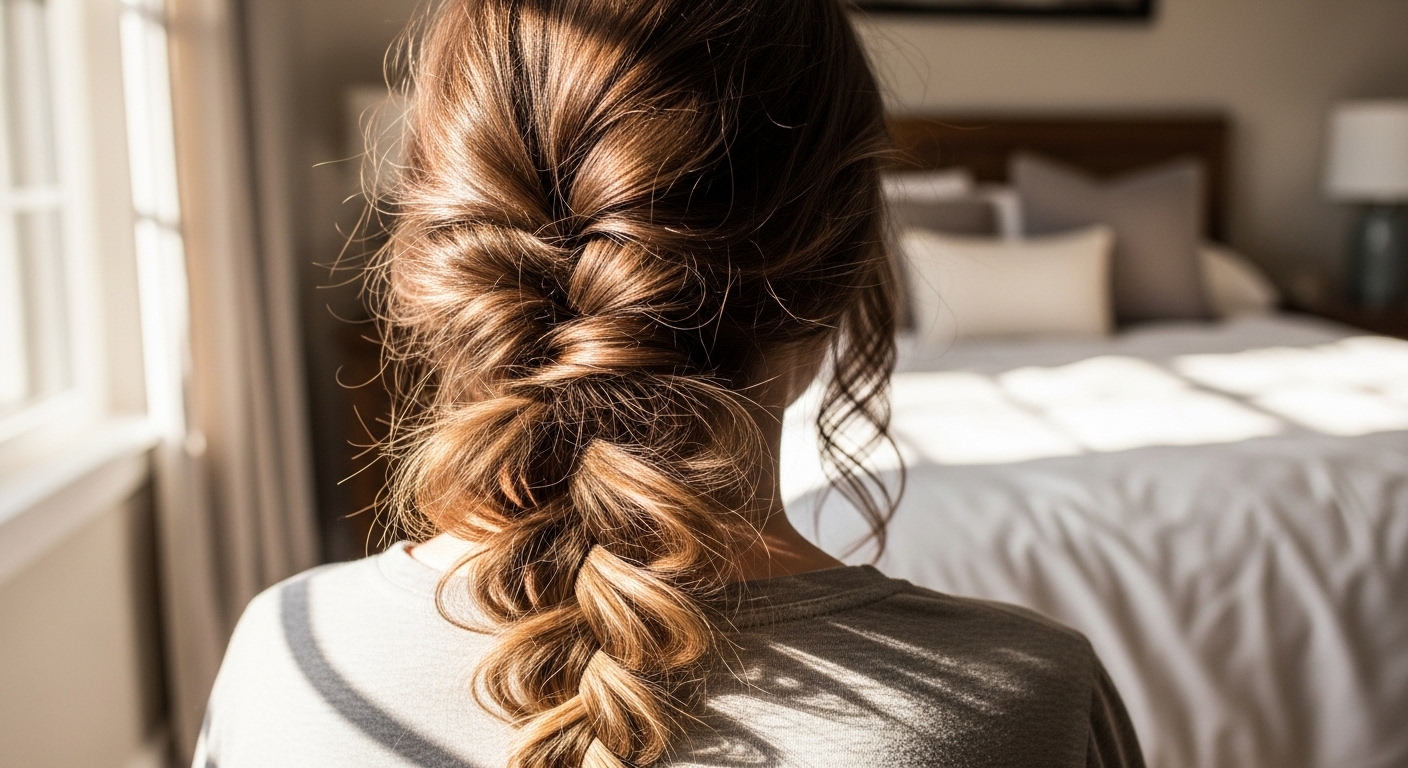
How to Do a Messy Side Braid for a Stunning New Look
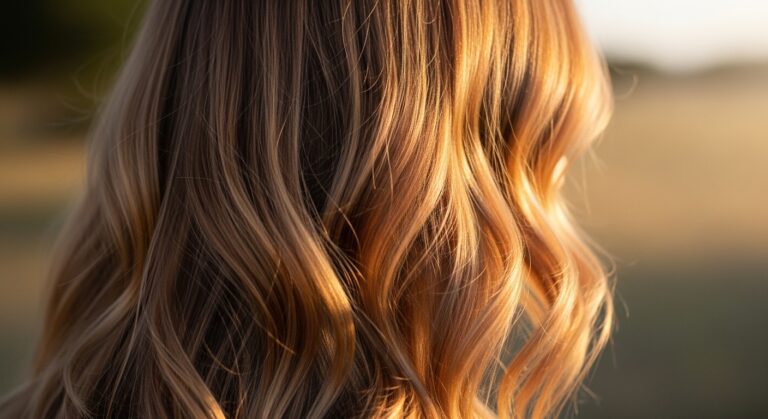
A messy side braid is one of those hairstyles that looks effortlessly stylish yet takes only a few minutes to create. It’s perfect for casual outings, school, brunch with friends, or even a relaxed date night. The beauty of this hairstyle lies in its soft, slightly undone look—it feels romantic, modern, and natural.
Unlike a tight, polished braid, the messy side braid embraces texture, loose strands, and volume. The result is a hairstyle that looks chic without trying too hard.
In this guide, you’ll learn exactly how to create the perfect messy side braid step by step, along with tips to make it look fuller, softer, and more stylish.
Why the Messy Side Braid Is So Popular
Before diving into the steps, it helps to understand why this hairstyle has become such a favorite.
The messy side braid works for almost any hair type, including straight, wavy, or curly textures. It also looks beautiful on medium to long hair and can easily transition from a casual daytime look to something slightly more elegant in the evening.
Another reason for its popularity is how quick it is to create. Most people can complete the hairstyle in under ten minutes, yet it still looks thoughtful and fashionable. The relaxed structure also means it doesn’t need to be perfect. Small loose strands and a slightly undone finish actually make the style look better.
- What You’ll Need Before You Start
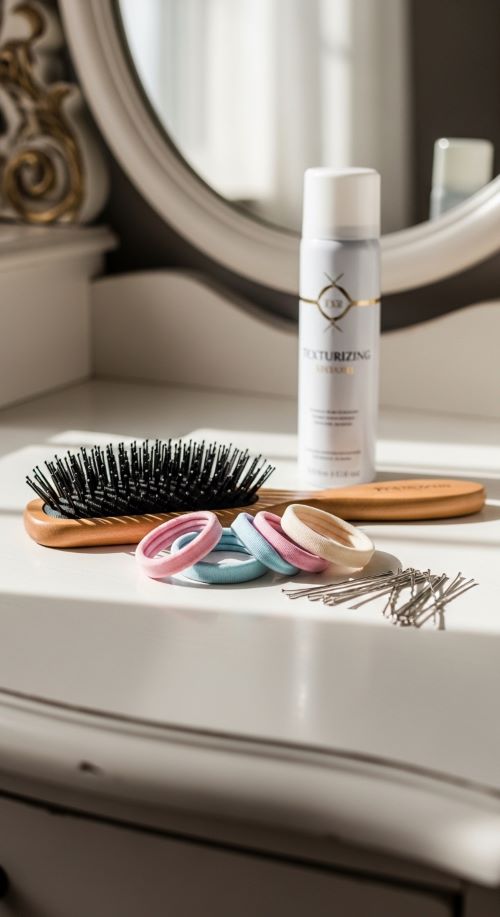
You don’t need many tools to create this hairstyle, but preparing a few basics will make the process easier.
A good hairbrush or wide-tooth comb helps remove tangles before you start braiding. A simple hair elastic will hold the braid securely once you finish. Texturizing spray or dry shampoo can add grip and volume to the hair, especially if your hair is freshly washed and very smooth. Bobby pins are useful for securing loose sections, while a light hairspray can help maintain the finished look.
Having these simple tools ready will make the styling process smoother and help your braid last longer.
Step 1: Add Texture to Your Hair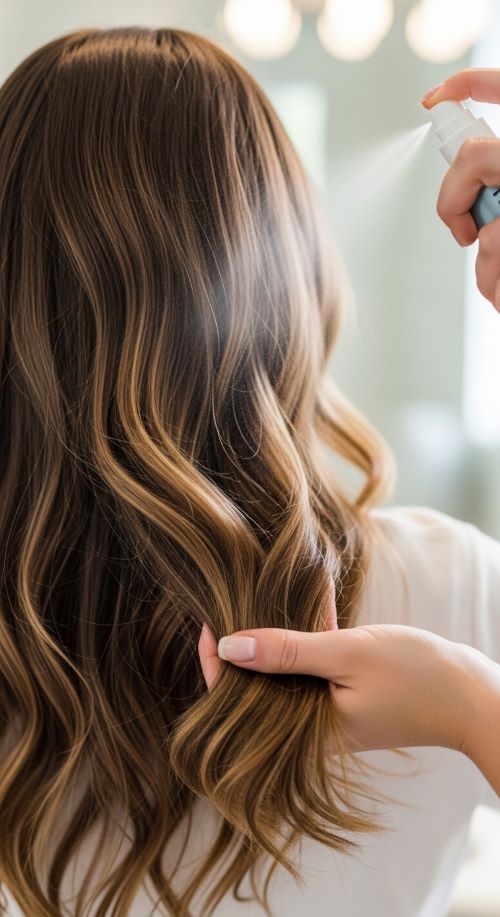
Messy braids look best when the hair has a bit of natural texture. If your hair is freshly washed, it may be too silky and difficult to braid in a loose style.
Begin by brushing your hair gently to remove any knots. After detangling, add texture by lightly spraying a texturizing spray throughout the lengths of your hair. If you don’t have texturizing spray, dry shampoo can work just as well because it adds grip and volume.
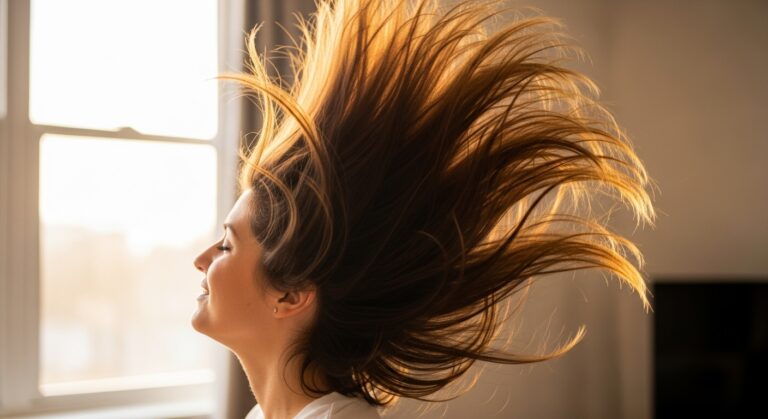
Some people also like to curl their hair slightly before braiding. Soft waves create movement and make the finished braid appear thicker and more romantic. Instead of brushing the waves out completely, run your fingers through them so the texture stays soft and natural.
Step 2: Sweep Your Hair to One Side
Once your hair has enough texture, gather all of it to one side of your head. Most people prefer braiding over the shoulder that feels most comfortable, but either side will work perfectly.
Use your fingers instead of a brush when moving your hair to the side. This helps maintain volume and prevents the hair from looking too neat or flat. Keep the hair slightly loose around the crown of your head rather than pulling it tightly back.
If you want extra volume at the top, gently lift sections near the crown and tug them upward slightly. This small adjustment can make a big difference in creating that soft, effortless appearance that messy braids are known for.
Step 3: Begin a Loose Three-Strand Braid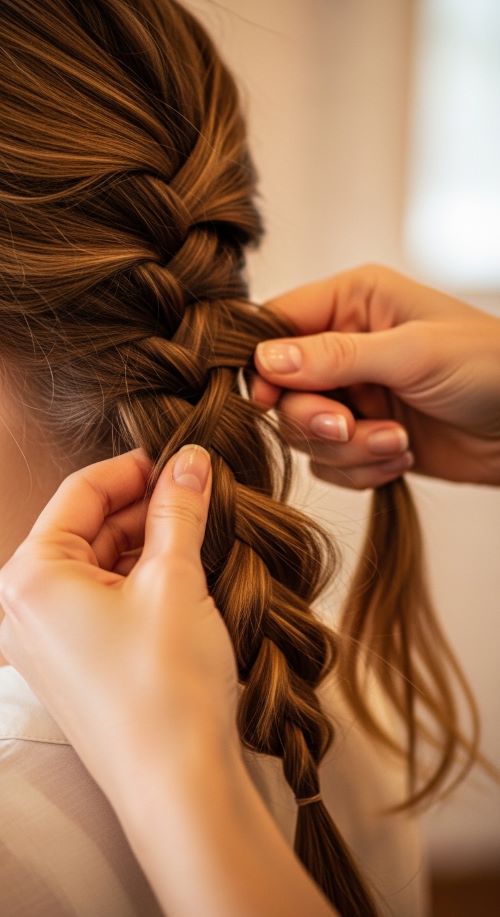
After positioning your hair over one shoulder, divide the hair into three equal sections. Start braiding using the classic three-strand technique.
Cross the right section over the middle section. Then cross the left section over the new middle section. Continue repeating this pattern as you move down the length of your hair.
While braiding, avoid pulling the sections too tightly. Keeping the braid loose will help create the relaxed texture that defines the messy braid style. If a few strands slip out while you braid, that is completely fine and actually contributes to the overall look.
Step 4: Secure the Braid and Loosen It
When you reach the end of your hair, secure the braid with a small elastic band. At this point the braid may still look slightly neat, but the next step will transform it into a true messy braid.
Use your fingers to gently pull apart small sections of the braid. This technique widens the braid and gives it a fuller appearance. Focus on loosening the outer edges of the braid while keeping the center intact.
You can also tug slightly on sections near the top of the braid to soften the overall shape. Allow a few strands to fall naturally around your face for an even more relaxed finish.
Step 5: Add Finishing Touches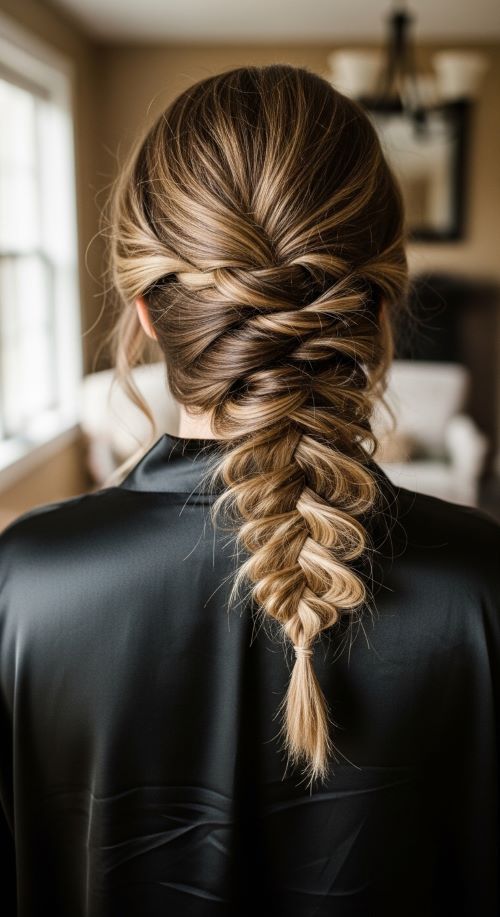
The final step is all about personalizing your hairstyle. Pull a few small strands around your face to create a soft, flattering frame. If you want a slightly more polished look, you can curl these loose strands gently.
You may also add a small hair accessory such as a decorative clip or ribbon near the end of the braid. A light mist of hairspray can help hold everything in place while still allowing the braid to move naturally.
Tips for Making Your Messy Side Braid Look Fuller
If your hair is naturally fine or thin, there are several easy ways to make the braid appear thicker. Adding texture before braiding helps create more grip and volume. Light waves or curls also give the braid more body and dimension.
Another helpful trick is gently pulling the edges of the braid outward after securing it. This expands the braid and makes it look fuller. Teasing the hair slightly at the crown can also add height and balance the overall hairstyle.
Leaving a few loose strands around the face softens the look and gives the braid a romantic finish.
Final Words
The messy side braid is a simple hairstyle that delivers beautiful results with very little effort. It works for many hair types and occasions, making it one of the most versatile styles you can learn.
Once you practice the technique a few times, you’ll be able to create this hairstyle quickly whenever you want a relaxed yet stylish look. The key is to keep the braid loose, embrace texture, and allow small imperfections to add charm.
Try this hairstyle the next time you want a quick glow-up and enjoy the effortless elegance it brings.