How to Curl Hair with a Curling Wand for a Stunning New Look
Want to transform your everyday hair into something that turns heads? Curling your hair with a curling wand is the ultimate way to add volume, movement, and glamor in just a few minutes. Whether you’re prepping for a night out, a wedding, or simply want a fresh new style, mastering the curling wand technique will give you salon-worthy results right at home.
In this guide, we’ll break down everything from prep to finishing touches so your curls look flawless every time. Let’s dive in!
Choose the Right Curling Wand for Your Hair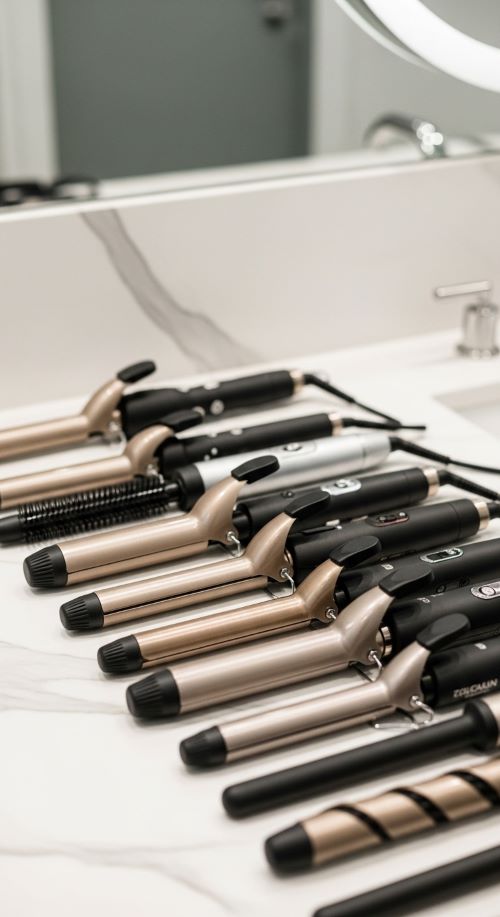
The first step in achieving perfect curls is picking the right wand. Barrel size matters a lot—one-inch barrels create tight, bouncy curls, while 1.5 to 2-inch barrels give loose, natural waves. The material also makes a difference. Ceramic wands distribute heat evenly and reduce frizz, whereas tourmaline wands produce shiny, smooth curls. You also have the choice between clamp and clipless wands. Clipless wands give a more natural, flowing curl, while clamped wands are great for beginners who want extra control.
If you’re new to curling, start with a clipless wand—it may take a little practice, but the results are worth it.
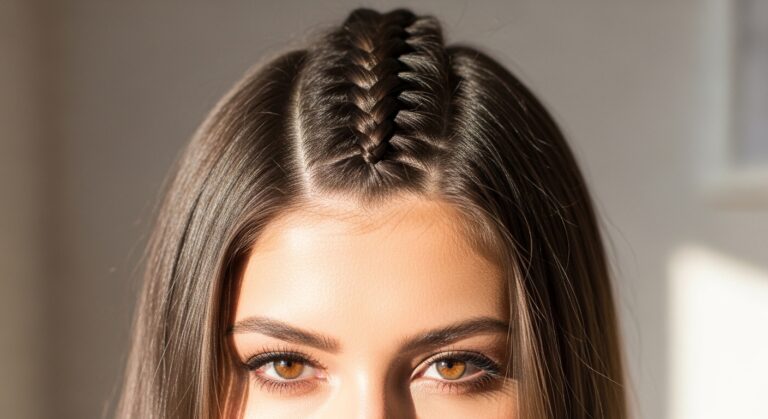
Prep Your Hair Like a Pro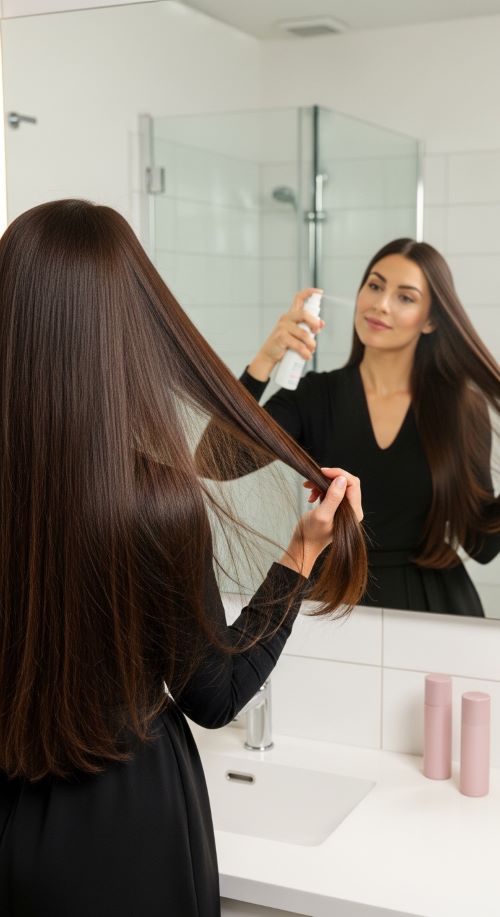
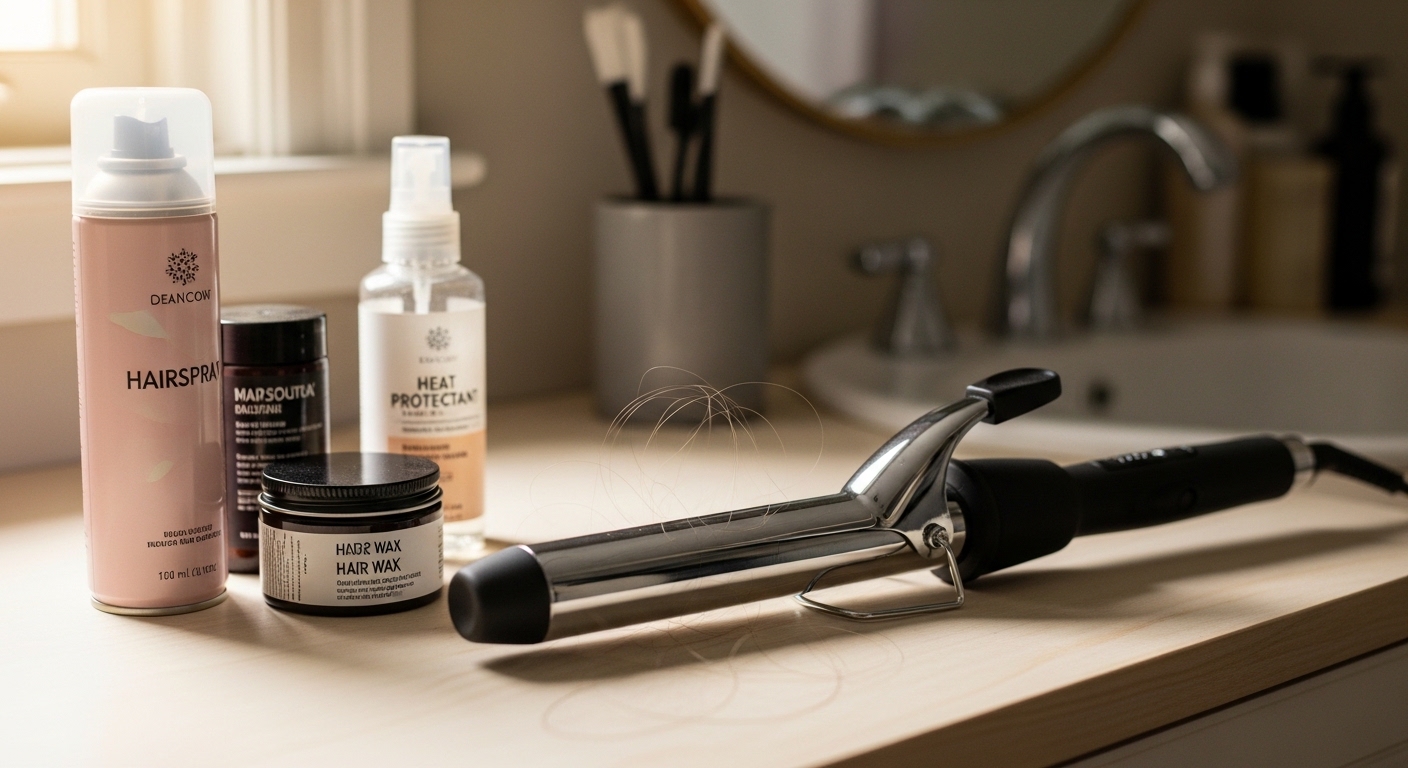
Curling works best on clean, dry hair that isn’t too freshly washed; slightly second-day hair tends to hold curls better. Begin by washing and conditioning your hair with a smoothing shampoo to reduce frizz. Next, apply a heat protectant to shield your strands from damage. Make sure your hair is completely dry because curls won’t hold well on damp hair. Section your hair using clips for easier curling.
A light brush through your hair before curling ensures a smooth, polished look.
Master the Curling Technique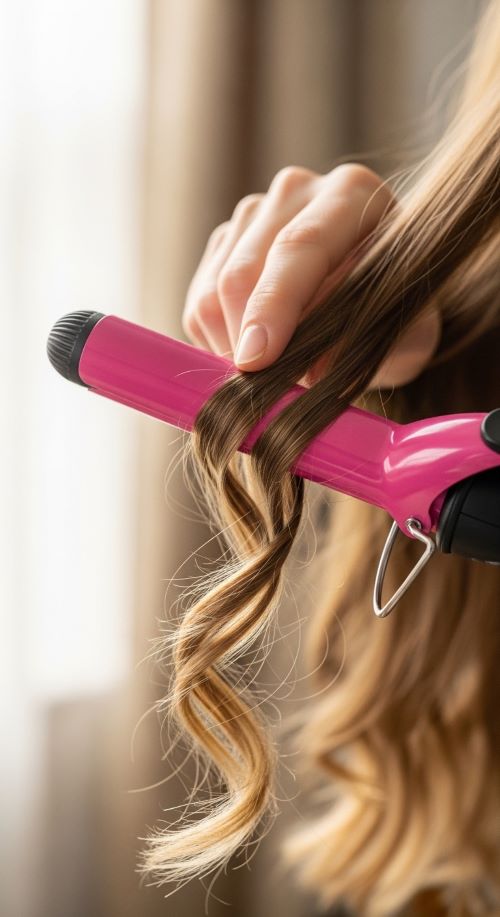
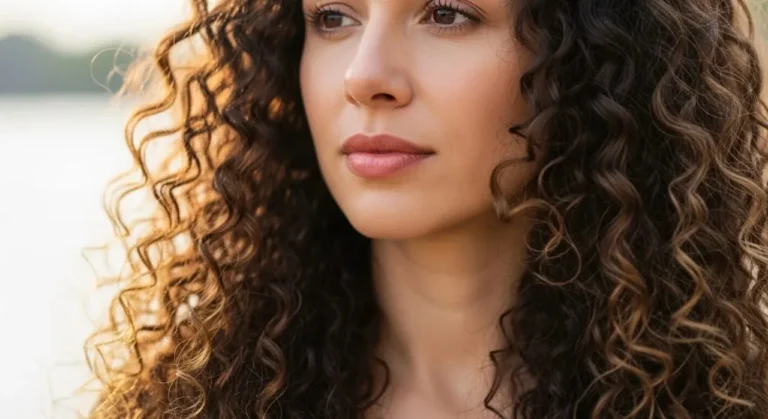
Now for the fun part—curling! Start by heating your wand to a safe temperature, around 300–350°F for fine hair and 350–400°F for thicker hair. Take a small section of hair, about one to two inches wide. Wrap it around the barrel, making sure to curl away from your face for a flattering look. Hold the hair on the wand for 5–10 seconds depending on your hair type, then release carefully and allow the curl to cool before touching it.
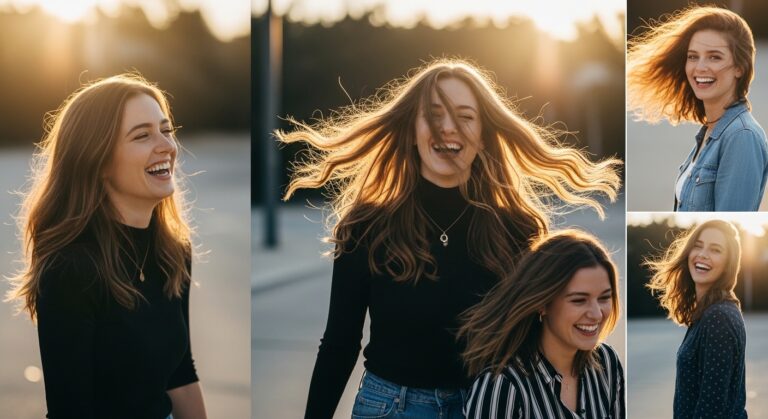
For a natural-looking effect, alternate the direction of the curls to achieve a beachy, textured style. Avoid curling the very ends if you want a relaxed finish, and be mindful not to hold the wand too long to prevent heat damage.
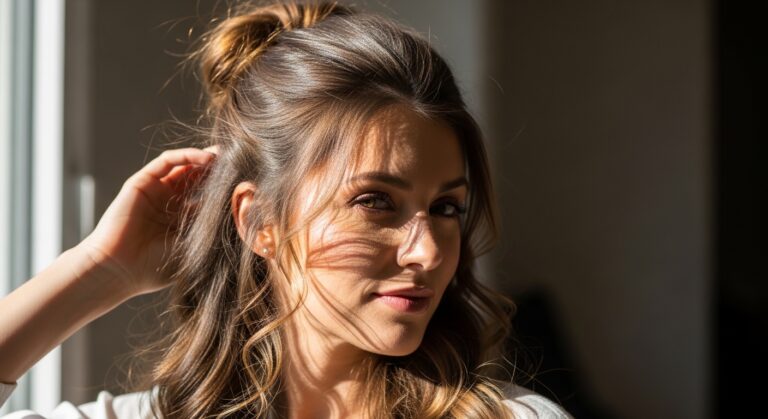
Finishing Touches for Long-Lasting Curls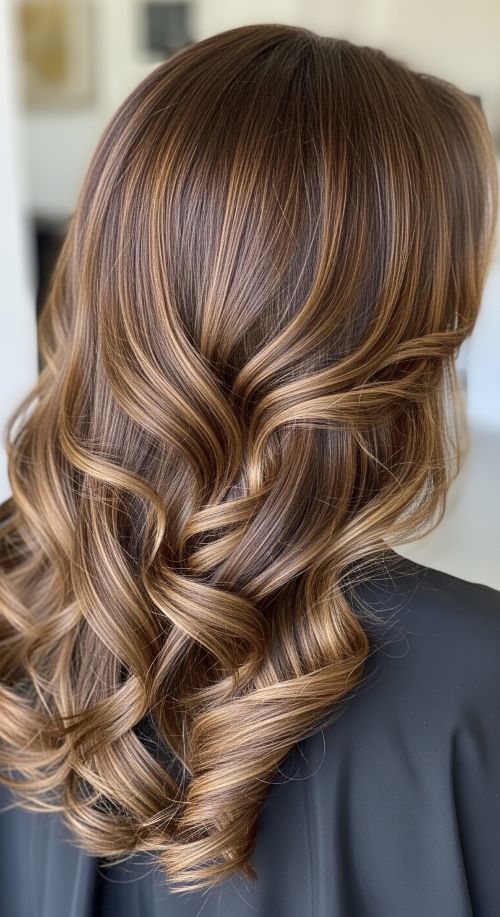
After curling all your hair, let the curls cool completely to lock in the shape. Run your fingers gently through your hair for a softer, voluminous style. Apply a lightweight hairspray to keep the curls intact without making them stiff. For a polished look, add a shine serum to the ends.
For an effortless, tousled look, scrunch the curls lightly with your hands and gently tousle them at the roots. This adds natural movement and body.
Common Mistakes to Avoid
Even with practice, curling mistakes happen. Avoid curling damp hair, which results in limp curls. Using too high heat can damage hair and create frizz, while overusing hairspray can leave hair sticky and stiff. Curling all sections in the same direction makes the hairstyle look unnatural.
Practice and small adjustments make a big difference in achieving salon-worthy curls at home.
Final Words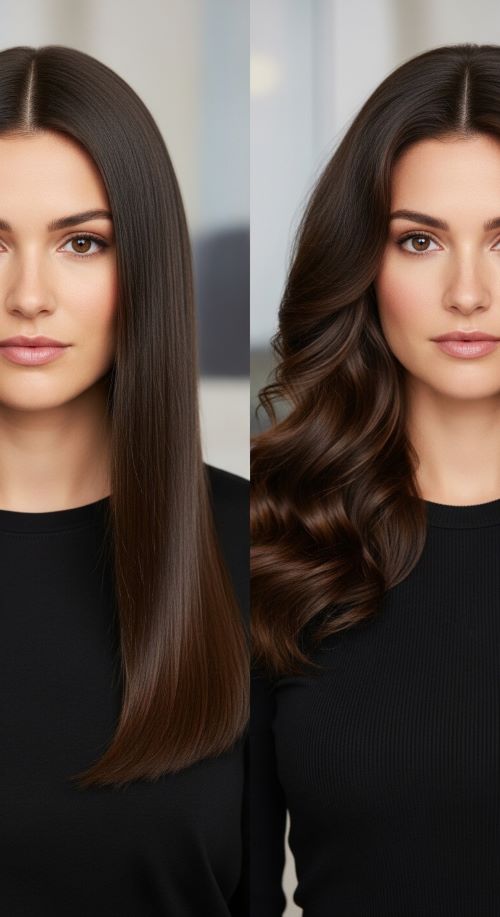
Curling your hair with a wand is a game-changer for a fresh, stunning look. With the right wand, proper prep, and a few simple techniques, you can create curls that last all day or night. Save this guide for your next styling session and get ready to flaunt gorgeous, head-turning waves!