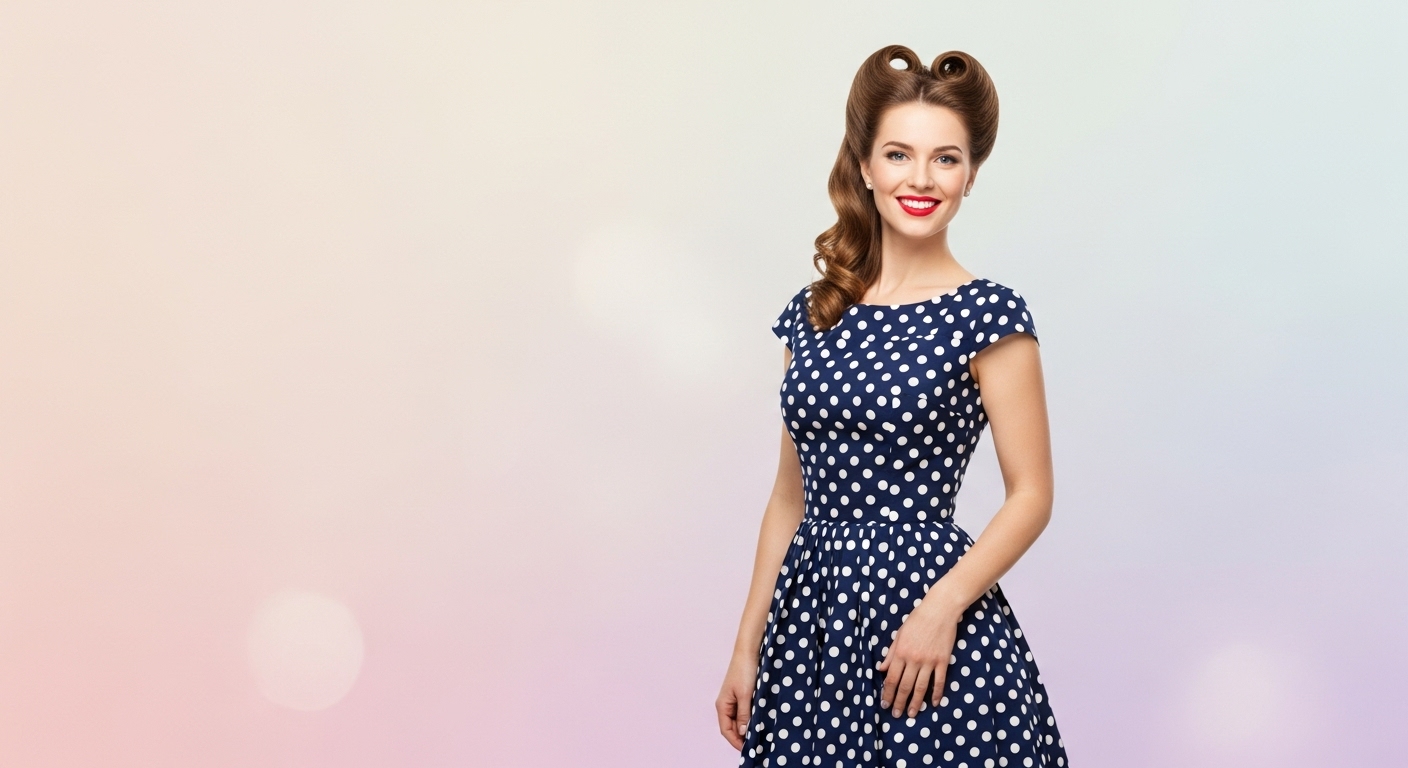
How to Do a Retro Updo for a Stunning New Look
Retro hairstyles are making a major comeback, and nothing screams classic chic like a retro updo. Whether you’re heading to a wedding, a cocktail party, or just want to turn heads on a casual day out, a retro-inspired hairstyle adds instant glamour. Best of all, you don’t need to be a professional stylist to achieve it just a few simple steps and a touch of patience.
In this guide, we’ll walk you through the steps to create a retro updo that’s both elegant and playful, plus share tips for making it last all day.
Prep Your Hair for Retro Perfection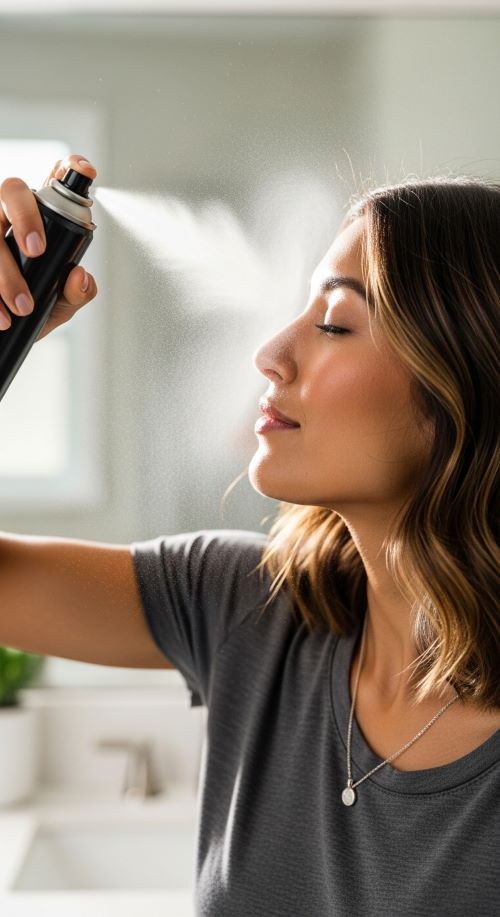
Before diving into styling, preparation is key. A smooth base ensures your updo looks polished and stays in place. Start by washing and conditioning your hair with a smoothing shampoo and conditioner to avoid frizz. Blow-dry your hair while flipping your head upside down to add natural lift at the roots. Apply a heat protectant before curling, and if you like, add a texturizing spray to give your hair some grip, making it easier to twist and pin.
Slightly dirty hair can actually hold styles better than freshly washed hair, so skipping a wash a day before can give your updo extra staying power.
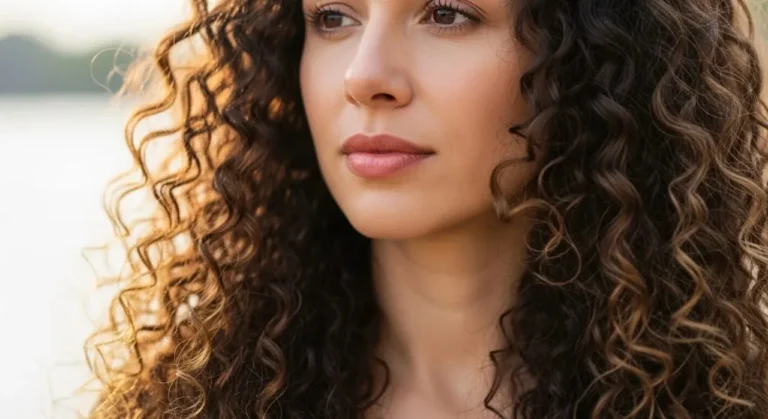
Create the Perfect Retro Curls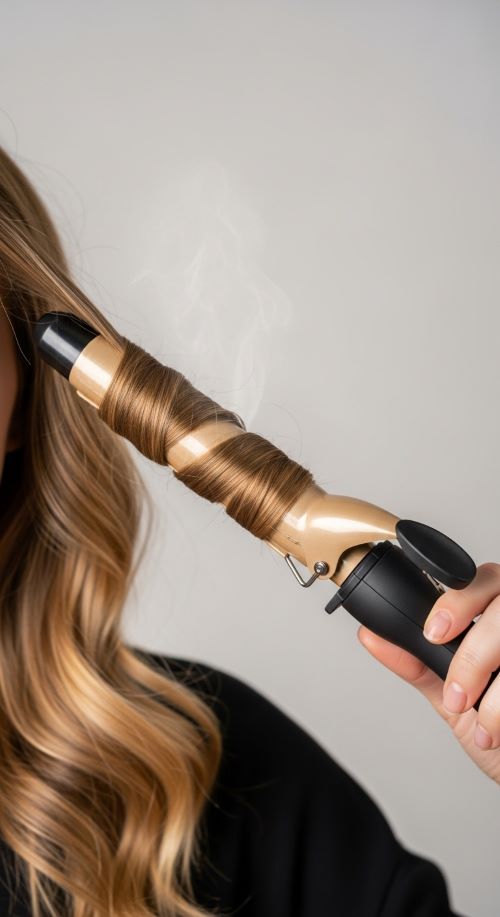
Retro updos rely heavily on curls—think glamorous waves from the ’40s and ’50s. Start by sectioning your hair into top, middle, and bottom layers for easier curling. Use a medium-barrel curling iron to curl small sections of hair, wrapping each section around the barrel for uniform curls. After curling each piece, pin it against your scalp until it cools to maintain the shape. Once cooled, brush through your curls gently to form soft waves rather than tight spirals.
For extra volume, curl away from your face on the top layers to achieve that signature retro bounce.
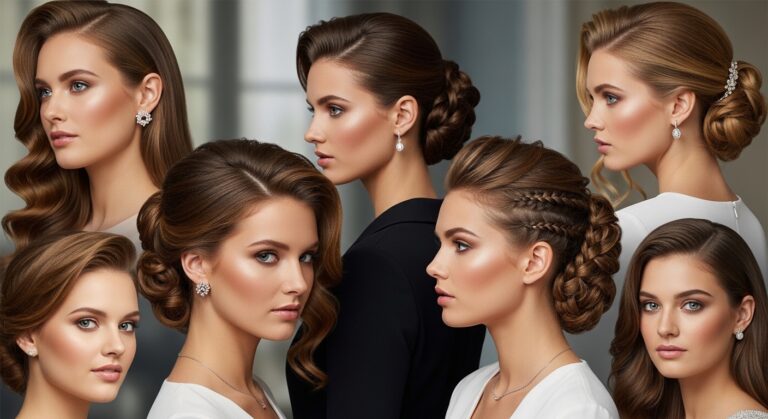
Form the Updo
Now comes the fun part: turning your curls into a retro masterpiece. Sweep all your hair to the back of your head, choosing a low, mid, or high placement depending on your desired look. Take sections of hair, twist them, and pin them using bobby pins. Crossing the pins helps to secure the hairstyle better. To add a classic ’50s vibe, create victory rolls on either side of your head. Smooth any flyaways with a small amount of hairspray or pomade for a neat finish.
Using pins that match your hair color keeps the look seamless and polished.
Accessorize for Extra Flair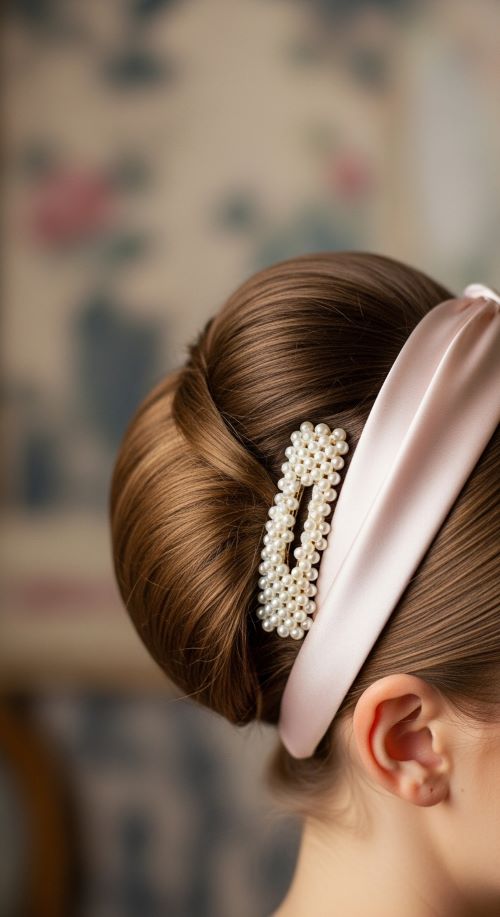
Retro hairstyles shine when paired with accessories. Satin or pearl headbands enhance the vintage vibe, while rhinestone or floral hair clips add sparkle and charm. For a playful touch, try tying a small scarf around a ponytail or bun. Accessories can elevate a simple updo into something unforgettable, giving your style an instant wow factor.
Finishing Touches and Longevity Tips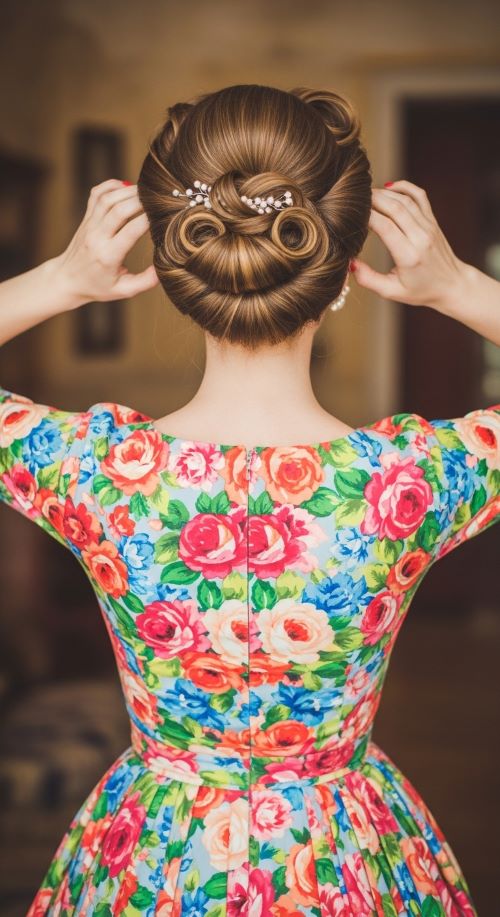
To keep your retro updo flawless, set it with a strong-hold hairspray that won’t make your hair stiff. Carry extra pins for touch-ups throughout the day, and avoid constantly adjusting your hair to prevent loosening curls and rolls. Retro updos are not just a hairstyle—they’re a statement. With a bit of practice, you’ll be able to recreate this stunning look in minutes.
Final Words
Retro updos are versatile, glamorous, and surprisingly easy with the right steps. Start with prep, master your curls, pin with confidence, and accessorize for maximum impact. Whether it’s a special occasion or a fun everyday look, your hair can instantly channel vintage elegance.
Save this guide for your next beauty session and step out in a look that turns heads!