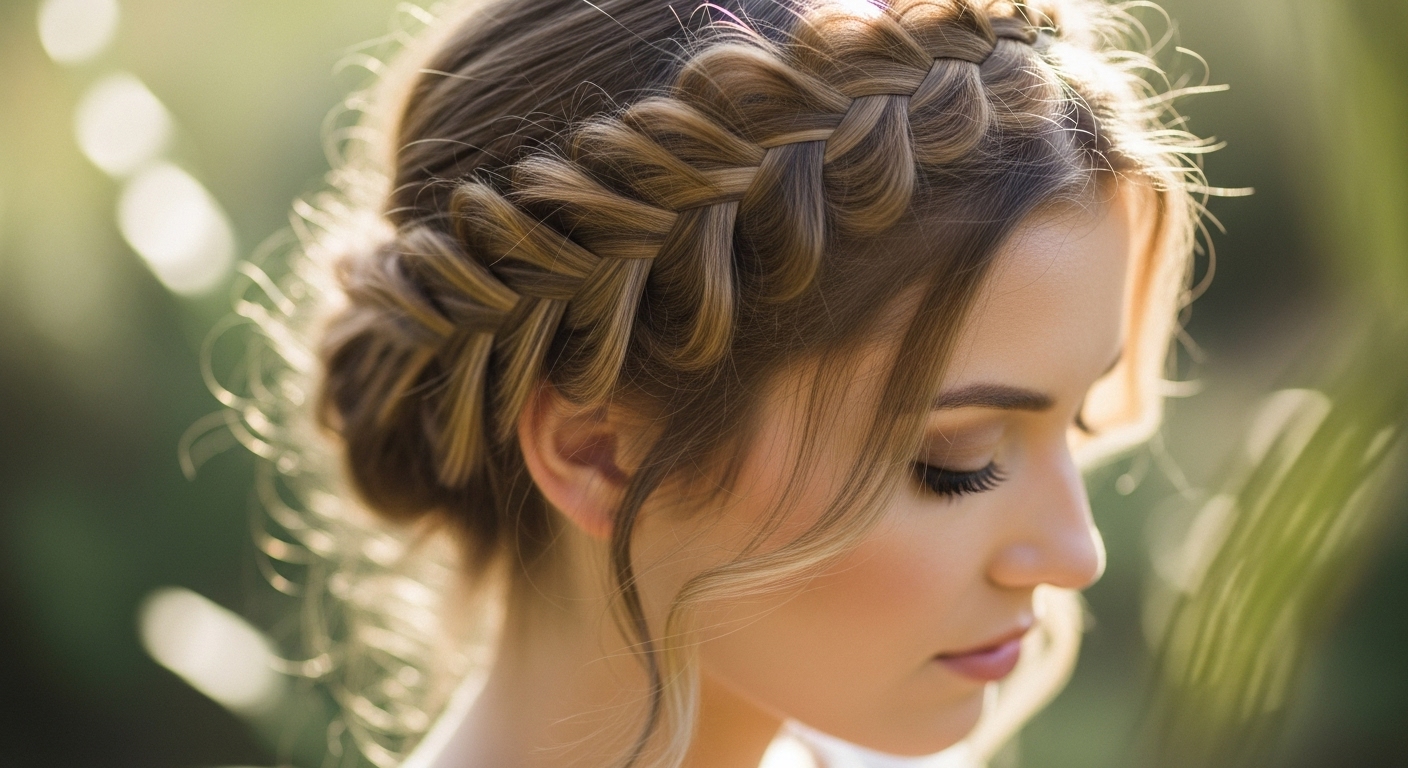
How to Do a Halo Braid for a Stunning New Look
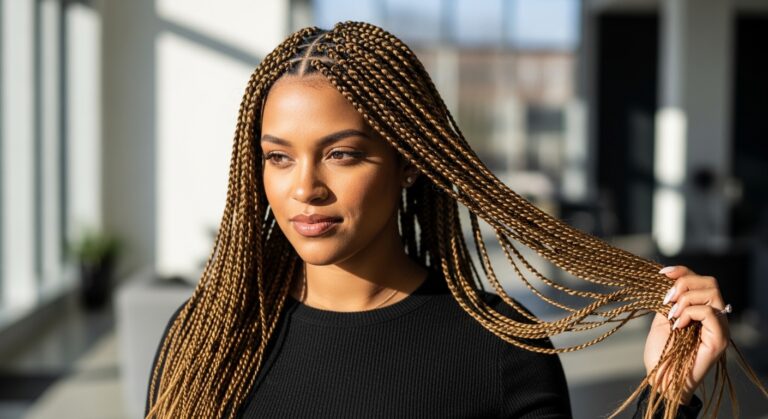
Want to turn heads with a hairstyle that’s elegant, romantic, and surprisingly easy to achieve? The halo braid is your new best friend. Perfect for weddings, date nights, or just adding a whimsical touch to your everyday look, this braided crown encircles your head like a halo and instantly elevates your style. Even if braiding seems intimidating, with the right tips and a little practice, you’ll master this dreamy hairstyle in no time.
What You’ll Need Before You Start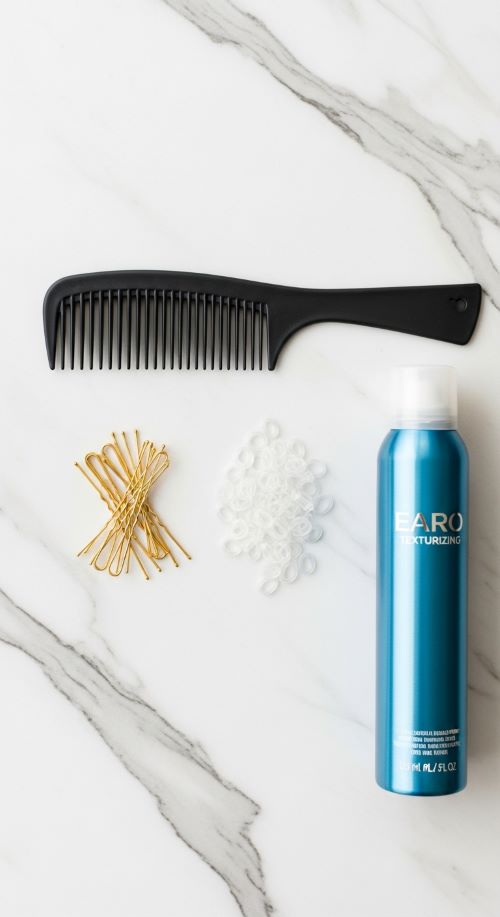
Before diving in, gather your essentials so the process is smooth. You’ll need a hairbrush or comb to remove tangles, small hair elastics for a seamless look, and bobby pins to secure the braid around your head. A hair spray or texturizing spray is optional for extra hold and volume. A mirror, or even better, a second mirror, will help you see the back. Halo braids work best on hair that’s at least shoulder-length, and slightly textured hair holds braids better than freshly washed, slippery hair.
Step 1: Prep Your Hair
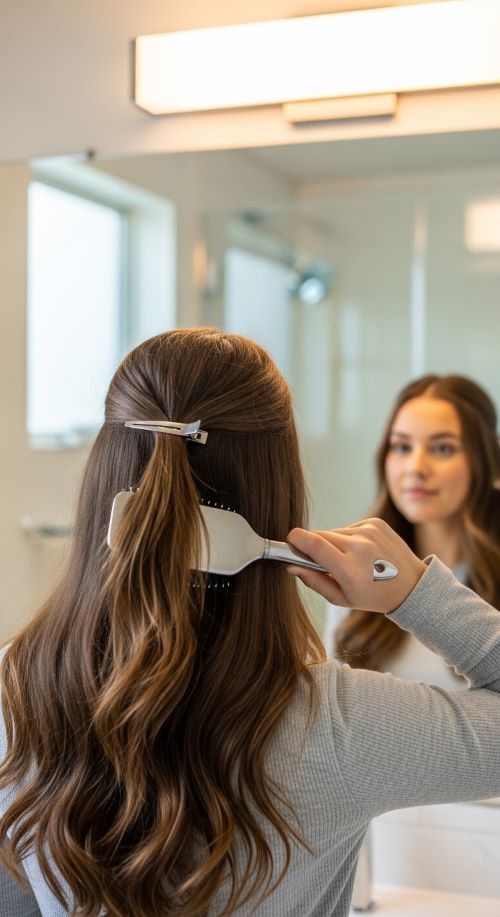
Start by brushing your hair thoroughly to remove any knots. If your hair is freshly washed, adding a bit of texturizing spray or dry shampoo can help create grip. Divide your hair into two equal sections, either from ear to ear or along a diagonal part depending on your preference. For a fuller halo, gently backcomb the crown section of your hair. If you want a softer, boho vibe, leave some face-framing strands loose.
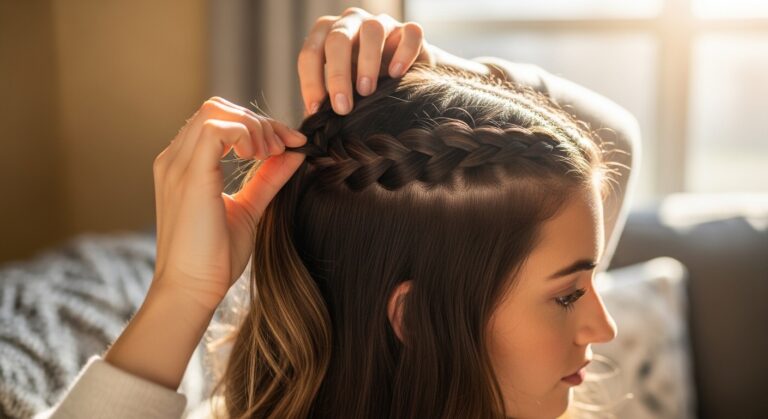
Step 2: Start Braiding
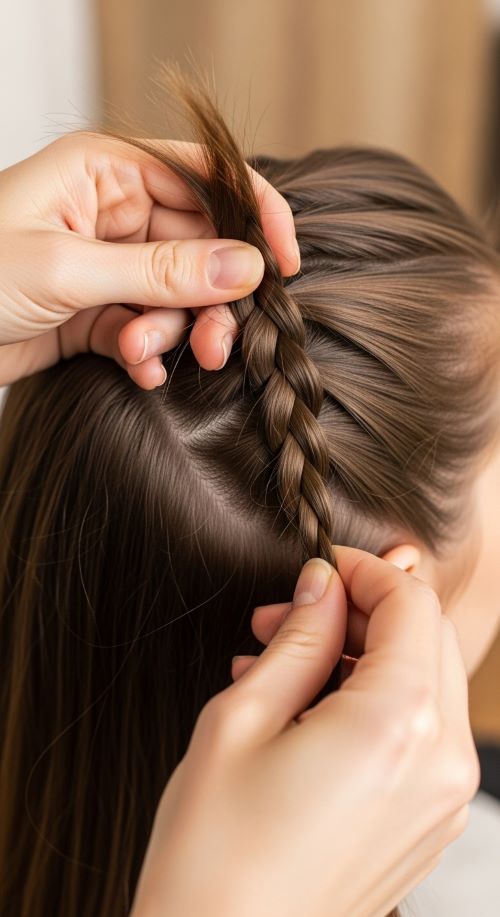
There are a few braiding styles that work for halo braids, but the classic is a Dutch braid, which stands out beautifully. Take a small section near your hairline and split it into three strands. Begin a Dutch braid by crossing the side strands under the middle strand, which is the opposite of a French braid. Add small sections of hair as you move along the hairline, keeping the braid tight and close to your scalp. Continue braiding until you reach the nape of your neck, then braid the rest of the hair normally. Keep the braid slightly loose for a more natural, ethereal look. Tight braids can feel severe and uncomfortable.
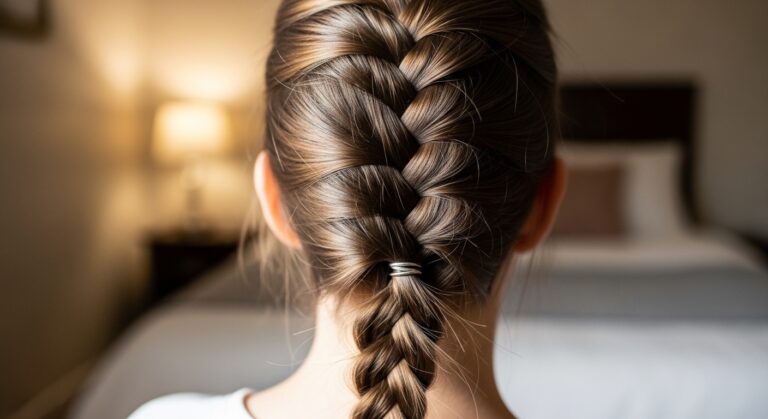
Step 3: Secure the Halo
Once both sides are braided, or if you’re doing a single continuous braid, wrap the braid around your head to form a circle. Use bobby pins to secure the ends discreetly underneath the braid. Tuck the ends neatly under the braid for a polished finish. Pin strategically at points where the braid meets for maximum hold. For a more relaxed look, gently pull apart sections of the braid to add volume and texture.
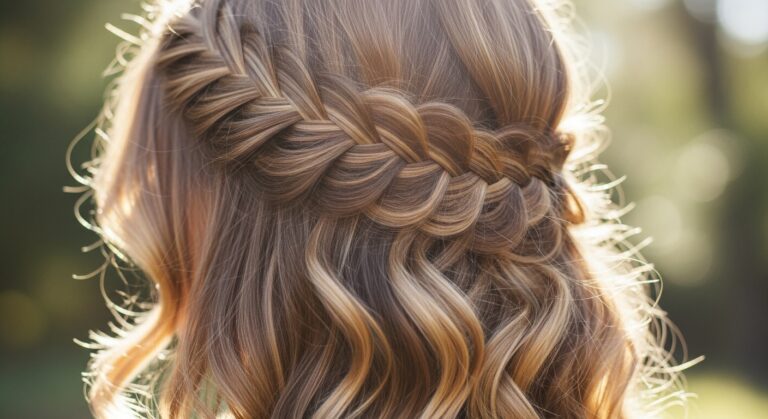
Step 4: Finishing Touches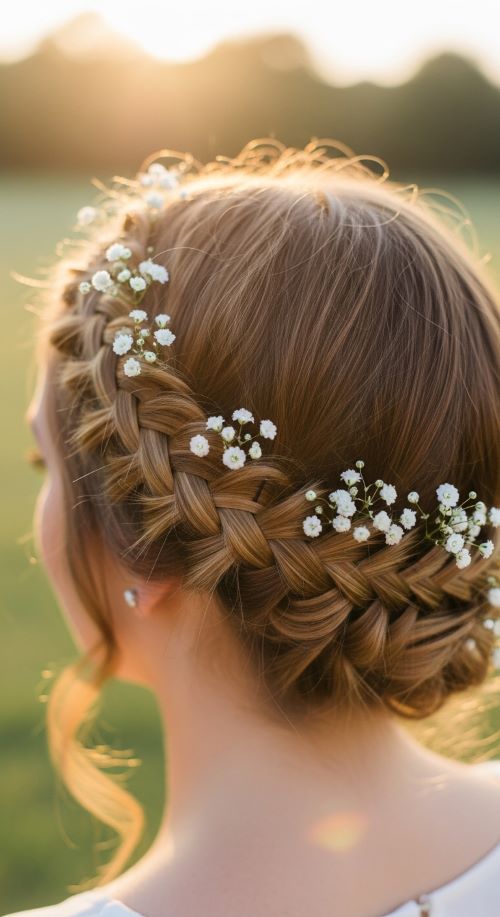
Now that your halo braid is in place, it’s time to make it look effortless. Pull lightly at sections of the braid to loosen them and create softness. Leave a few tendrils or curls around your face for a natural, romantic frame. You can also add small flowers, pearl pins, or decorative clips to enhance the halo effect. Finish with a light misting of hairspray to ensure the braid lasts all day.
Tips for a Long-Lasting Halo Braid
Start with slightly dirty or texturized hair because fresh hair can be slippery. Don’t worry about perfection—soft, messy braids are trendy. Practice makes perfect, and the first braid might be tricky, but it gets easier each time. Using a mirror behind you or enlisting a friend for your first try can be a big help.
Final Thoughts
A halo braid is more than a hairstyle—it’s a statement. Whether you’re going for a romantic, fairy-tale look or a casual, boho vibe, this style works for any occasion. Once you master the technique, you can experiment with variations, adding twists, flowers, or combining braids for a truly personalized crown. Save this guide and give your hair the halo treatment—it’s easier than it looks and guaranteed to turn heads wherever you go!