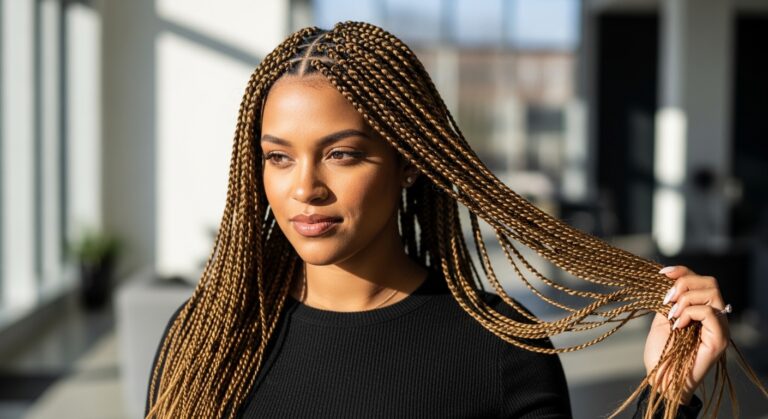
How to Do a Simple Braid for a Stunning New Look
Want a quick hairstyle that looks effortlessly chic but takes just minutes to create? A simple braid is your secret weapon. Whether you’re heading to school, work, or a casual outing, this timeless style instantly elevates your look no salon required.
The best part? You don’t need to be a hair expert. With a little practice, you can master this go-to style and even customize it to match your vibe.
Why a Simple Braid Is Always in Style
A classic braid isn’t just practical—it’s incredibly versatile and flattering on almost everyone.
It keeps your hair neat and out of your face while working beautifully for different hair types and lengths, especially medium to long hair. You can wear it casually during the day or dress it up for a special occasion. The best part is how easily you can switch between a sleek, polished braid and a soft, romantic one.
What You’ll Need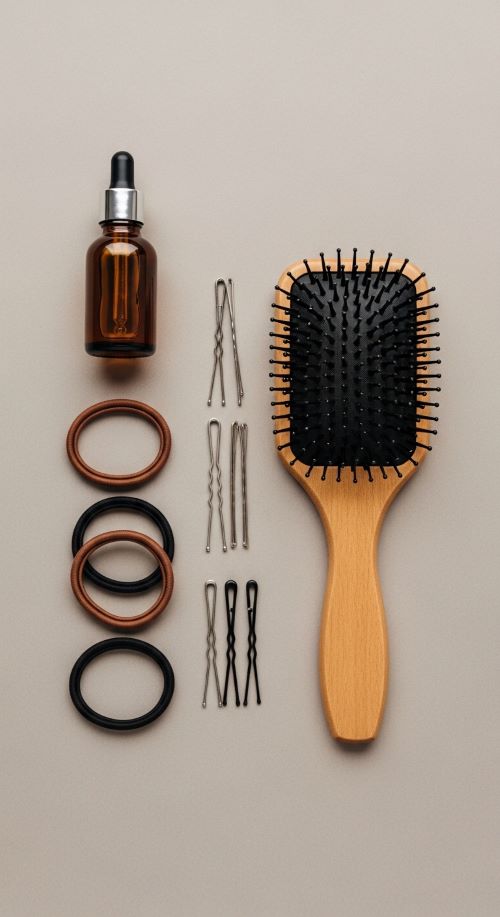
Before you begin, gather a few basic tools to make the process smoother. You’ll need a hairbrush or comb to detangle your hair, along with snag-free hair ties to secure the braid. If you want a more polished finish, you can use a light hair serum or styling cream. Bobby pins are also helpful for taming any loose strands.
Step-by-Step Guide to a Simple Braid
Let’s break it down into easy, beginner-friendly steps so you can follow along without confusion.
1. Prep Your Hair
Start with clean, tangle-free hair. Brush it thoroughly to remove any knots. If you’re aiming for a sleek braid, apply a small amount of serum to smooth the strands. For a more relaxed and textured look, slightly messy or day-old hair actually works better.
2. Divide Into Three Sections
Gather your hair at the back of your head, or shift it to one side if you prefer a side braid. Divide the hair evenly into three sections: left, middle, and right. Make sure each section is balanced, as this will help your braid look neat and even.
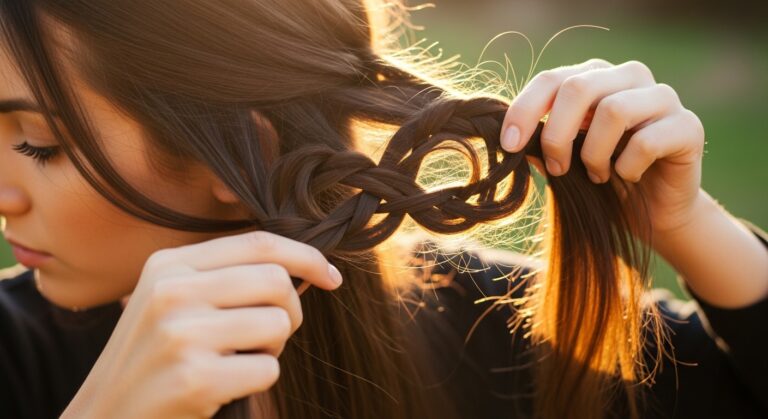
3. Start Braiding
Now comes the main technique. Take the right section and cross it over the middle section. Then take the left section and cross it over the new middle. Continue repeating this pattern, alternating sides each time. As you braid, keep your hands steady and maintain consistent tension for a clean look.
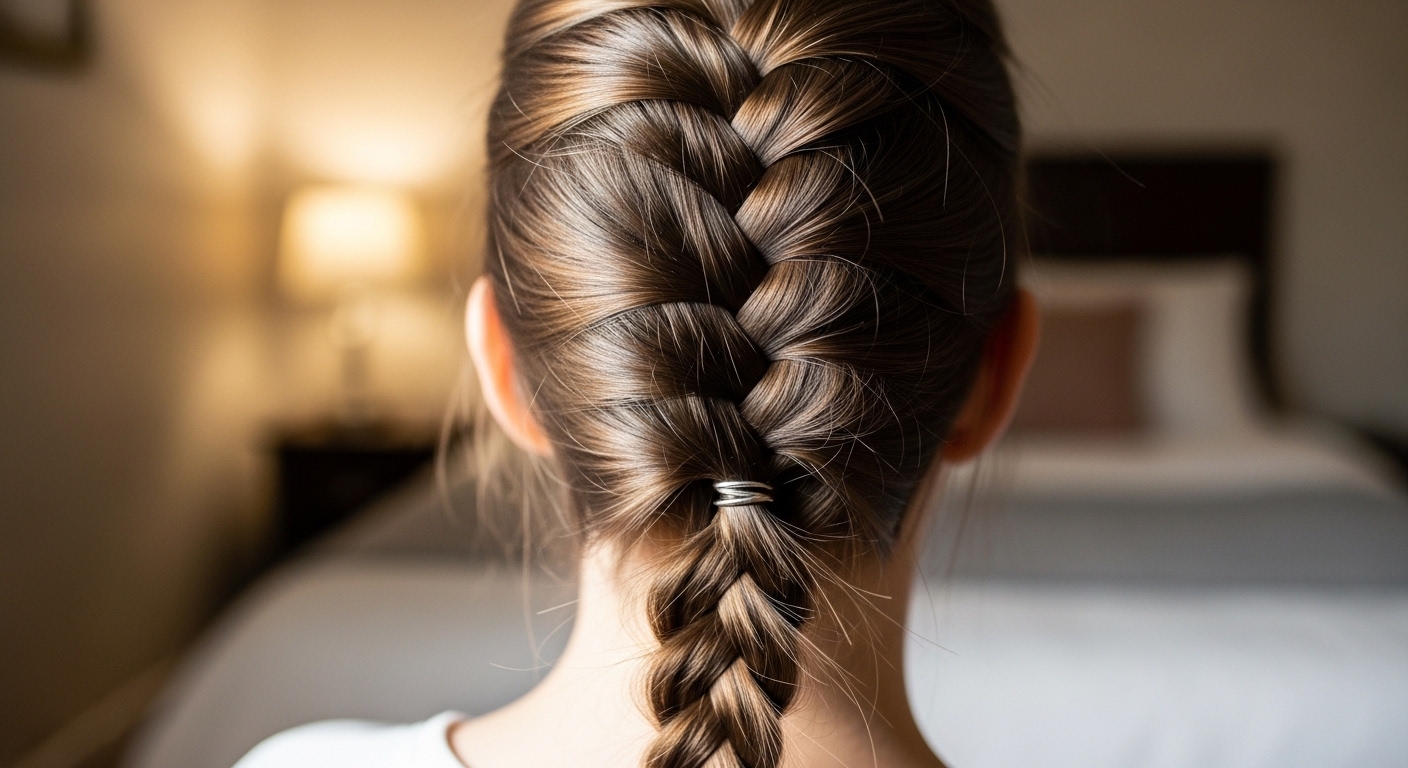
4. Continue to the End
Keep following the same pattern all the way down your hair. Try to maintain an even rhythm so the braid looks uniform. Once you reach the ends, secure everything with a hair tie to hold the braid in place.
5. Finish and Style
Once your braid is complete, you can leave it simple or add your own personal touch. Gently pulling apart sections of the braid can create a fuller, softer appearance. You can also tuck in loose strands using bobby pins or add accessories like ribbons or clips for extra style.
Tips for the Perfect Braid
Getting the perfect braid may take a little practice, but it becomes easier over time. Using a mirror can help you keep track of your hand movements, especially when braiding your own hair. It’s also important not to pull too tightly unless you want a very sleek finish. Hair with a bit of texture tends to hold braids better than freshly washed, silky hair.
Easy Variations to Try
Once you feel confident with the basic braid, you can explore different variations. A side braid creates a soft, romantic look, while a loose braid gives a more relaxed and voluminous feel. Double braids can add a playful touch, and a half-up braid lets you combine a braid with flowing hair for a balanced style.
Common Mistakes to Avoid
There are a few common mistakes that can affect how your braid turns out. Uneven sections can make the braid look lopsided, while pulling too tightly may cause discomfort. Skipping the brushing step often leads to tangles during braiding, and not securing the end properly can cause the braid to unravel quickly.
Final Words
A simple braid is more than just a hairstyle—it’s a quick confidence boost you can create anytime, anywhere. Whether you keep it sleek or go for a soft, messy finish, it’s a look that always works.
Save this guide for later and try it out the next time you want an easy, stunning new look!