How to Do a Braided Crown for a Stunning New Look
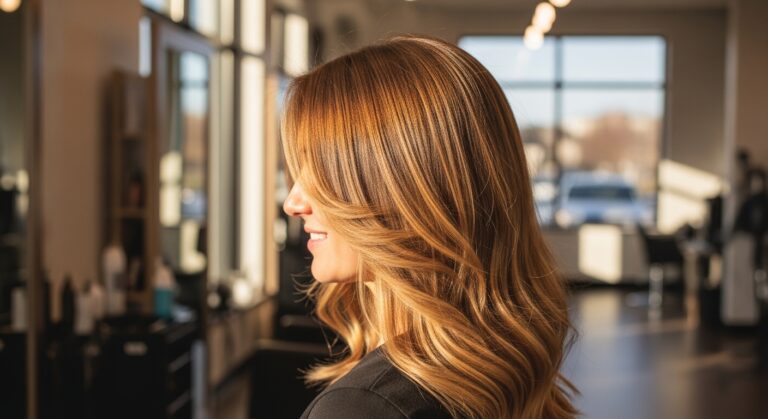
There’s something effortlessly elegant about a braided crown. It looks romantic, polished, and surprisingly versatile — perfect for weddings, casual brunches, festivals, or even an everyday confidence boost. The best part? You don’t need professional hairstyling skills to create this timeless look.
A braided crown wraps around your head like a halo, instantly elevating your hairstyle while keeping hair secure and stylish all day long. Once you learn the technique, it becomes one of those go-to hairstyles you’ll keep coming back to.
Why a Braided Crown Works for Everyone
The braided crown is incredibly flattering because it suits nearly every face shape and hair type. Whether your hair is long, medium, straight, wavy, or curly, this hairstyle adapts beautifully. It lifts the face, highlights your features, keeps hair away from the neck, and creates an elegant yet relaxed appearance. You can style it sleek and polished or soft and bohemian depending on how tight or loose the braids are.
What You’ll Need Before You Start
Preparation makes the styling process easier and helps the hairstyle last longer throughout the day. Gather a hairbrush or wide-tooth comb, small hair elastics that match your hair color, several bobby pins, a texturizing spray or dry shampoo, and a light hairspray for finishing.
Freshly washed hair can sometimes be too slippery for braiding. Slightly textured or second-day hair usually holds better and gives the braid more grip and volume.
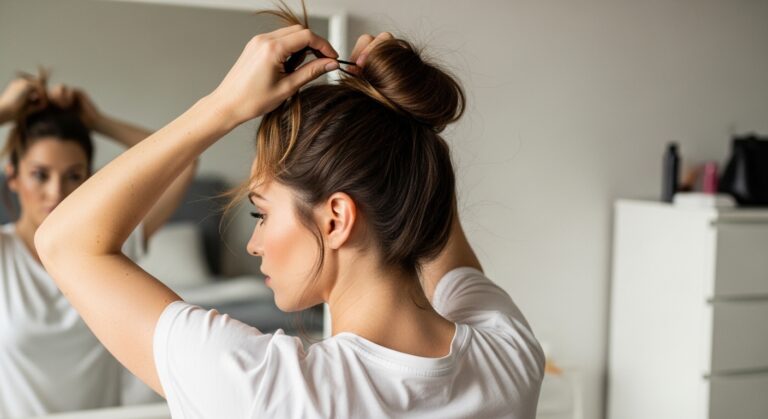
Step 1: Prep Your Hair for Grip and Volume
Start by brushing your hair thoroughly to remove knots and tangles. Smooth sections make braiding easier and prevent uneven tension later.
Apply dry shampoo or texture spray at the roots to add grip. If your hair is naturally straight, adding soft curls or waves beforehand creates movement and makes the braid appear fuller. Choose either a center or side part depending on the look you want.
Adding a little volume at the crown by gently teasing the roots helps give the finished hairstyle a more balanced and lifted appearance.
Step 2: Divide Hair Into Two Sections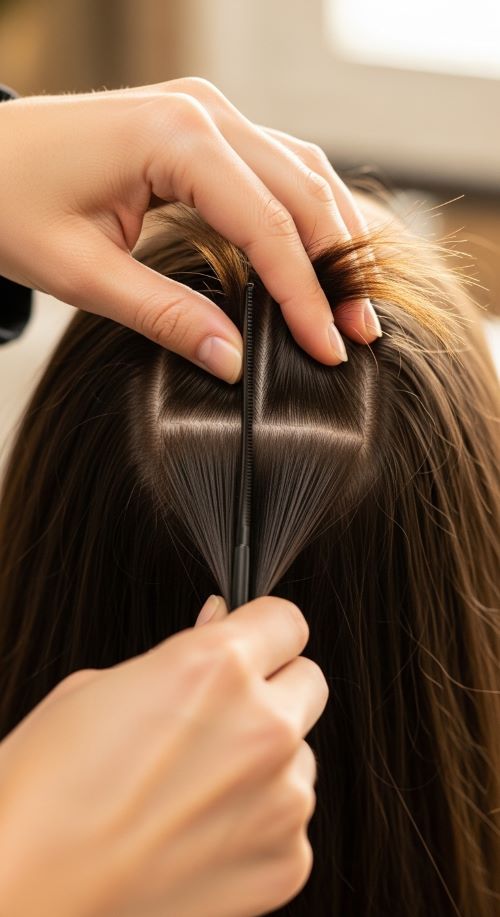
The traditional braided crown is formed using two braids wrapped around the head. Begin by parting your hair down the middle from your forehead to the nape of your neck. Divide your hair into two equal sections.
Clip one side out of the way while you work on the other. Clean sections make it easier to maintain symmetry and ensure that the crown looks intentional and polished once complete.
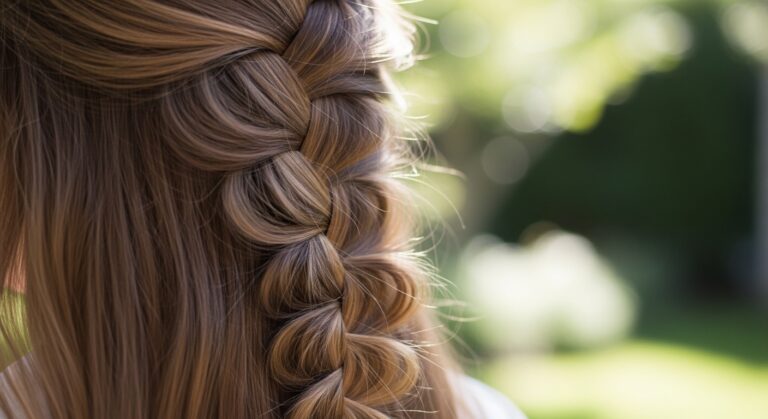
Step 3: Create the Braids
Take one section of hair and begin braiding downward. A classic three-strand braid works perfectly, but you can also try a Dutch braid for added depth or a fishtail braid for a softer boho effect.
Braid all the way to the ends and secure with an elastic. Repeat the same process on the opposite side. Keep your hand tension consistent while braiding so both sides look balanced.
Once finished, gently pull apart small sections of each braid. This technique, often called “pancaking,” adds fullness and gives the hairstyle a relaxed, modern feel.
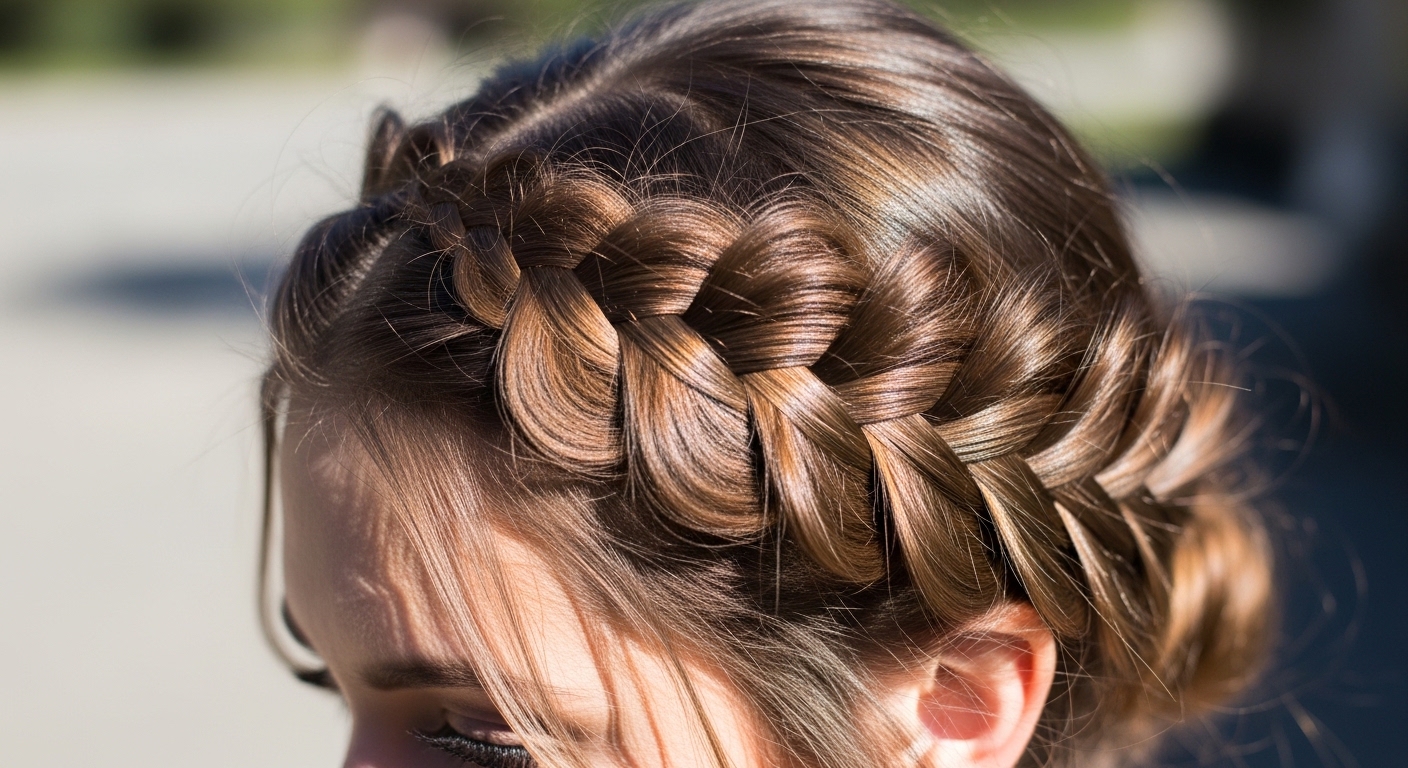
Step 4: Wrap the Braids Into a Crown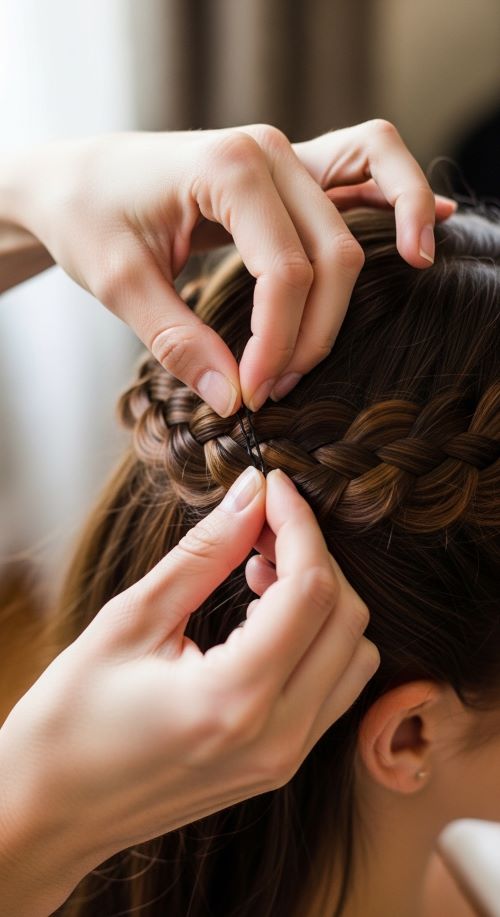
Now the transformation happens. Lift the first braid across the top of your head like a headband. Position it just behind your hairline and secure it with bobby pins behind the opposite ear. Tuck the tail neatly underneath the braid so it disappears.
Take the second braid and wrap it around the back of your head, placing it slightly behind the first braid. Secure it firmly with pins, creating a continuous crown shape.
Step 5: Soften and Personalize the Style
This stage gives the hairstyle personality. Gently loosen a few strands around your face to create softness. You can keep the look romantic with loose curls, polished by smoothing flyaways with styling cream, or relaxed by slightly loosening the braid structure.
A light mist of hairspray helps hold everything in place while keeping movement natural. Avoid heavy spraying so the crown still looks effortless rather than stiff.
Step 6: Make It Last All Day
A braided crown is surprisingly secure when pinned correctly. Cross bobby pins for stronger hold and hide them beneath the braid layers for a seamless finish. If your hair feels slippery, add a little more texture spray before final pinning.
This hairstyle is ideal for long days, special events, or outdoor occasions because it keeps hair controlled while still looking stylish from every angle.
Easy Variations to Try
Once you feel confident with the basic braided crown, you can experiment with different styles. A half-up crown works beautifully for medium-length hair, while a double Dutch crown creates a bold statement. A messy festival-inspired crown pairs well with beach waves, while a sleek version suits formal occasions. Adding pearls, ribbons, or small flowers instantly transforms the look for celebrations.
Common Beginner Mistakes (And How to Fix Them)
Many beginners worry about perfection, but braided crowns actually look better with a little softness. If braids slip, adding more texture spray usually solves the problem. If the crown appears flat, gently loosen braid sections for volume. Visible pins can be hidden by inserting them vertically under the braid, and uneven placement can be corrected before applying final hairspray.
Practice improves speed and confidence, and each attempt will look better than the last.
Final Words
A braided crown instantly transforms your appearance with minimal effort. It combines elegance, practicality, and creativity in one timeless hairstyle. Whether you’re attending a special event or simply want a fresh everyday look, this style delivers effortless beauty.
Try it once, experiment with variations, and make it your signature look.