How to Achieve the Perfect Blowout at Home for a Stunning New Look
There’s something magical about a fresh salon blowout. The bounce. The shine. The confidence boost. But what if you could recreate that same glossy, voluminous look right at home — whenever you want?
The good news? You absolutely can. With the right tools, a little prep, and a few pro techniques, you’ll be flipping your hair like you just walked out of a high-end salon.
Let’s break it down step by step so you can master the perfect blowout at home.
Start with the Right Hair Prep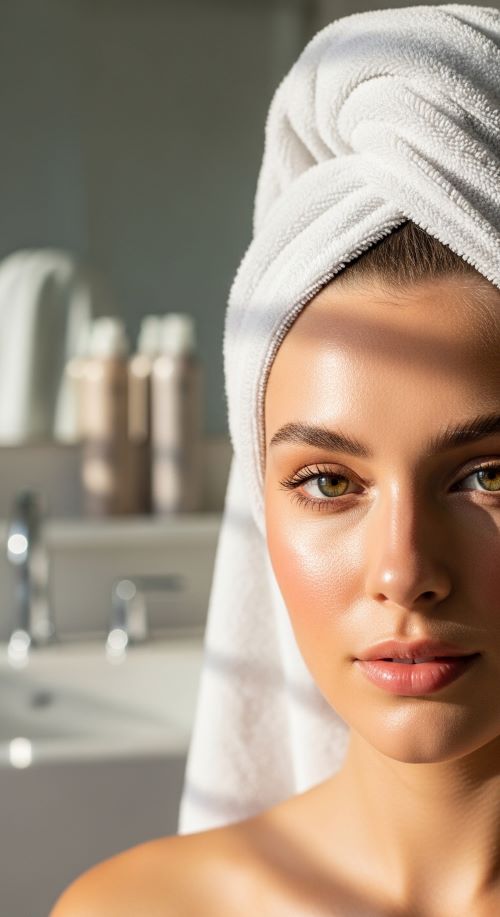
A flawless blowout begins in the shower. Choose a lightweight shampoo and conditioner that won’t weigh your hair down. If your goal is extra volume, go for products labeled volumizing or lightweight. Avoid heavy masks before styling, as they can make your hair too soft and flat. When conditioning, focus mainly on the mid-lengths and ends instead of the roots to prevent greasiness.
After washing, gently squeeze out excess water and pat your hair dry with a towel. Avoid rubbing aggressively, as that can create frizz and rough up the hair cuticle.
Apply the Right Styling Products
Styling products are essential if you want that polished, long-lasting finish. Always start with a heat protectant. This step protects your strands from damage and keeps your hair looking healthy and shiny.
Next, choose products based on your hair type. Fine hair benefits from a volumizing mousse applied at the roots to create lift. Thick hair often needs a smoothing cream to control frizz and add softness. If you have curly or wavy hair, a lightweight anti-frizz serum can help tame texture before drying. Distribute the product evenly through your hair using your fingers or a wide-tooth comb, making sure not to overload your strands. Too much product can leave hair stiff or greasy.
Rough Dry First for Better Volume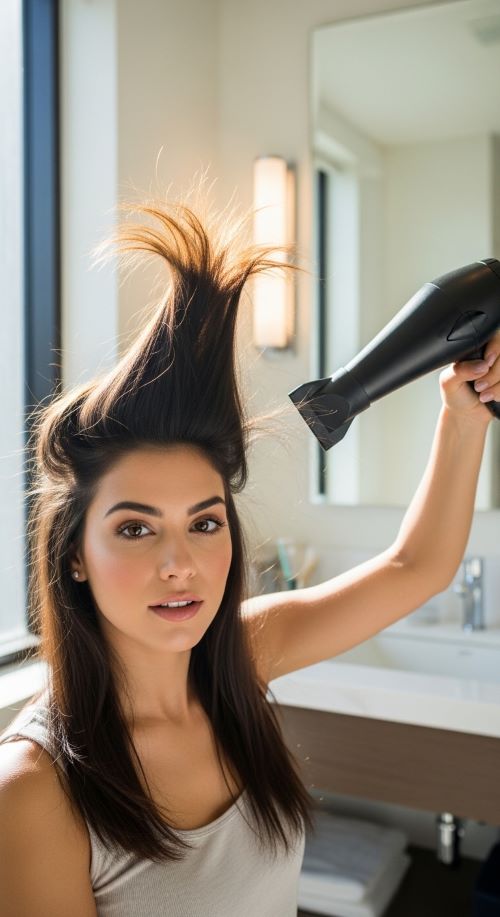
Before using a round brush, rough dry your hair until it’s about 70 to 80 percent dry. This step saves time and adds natural volume. Flip your head upside down and use your fingers to lift the roots while directing the airflow toward the scalp. Keep the dryer moving to prevent heat damage and focus on drying the roots first.
Once your hair feels mostly dry but still slightly damp, you’re ready to move on to shaping and smoothing with a round brush.
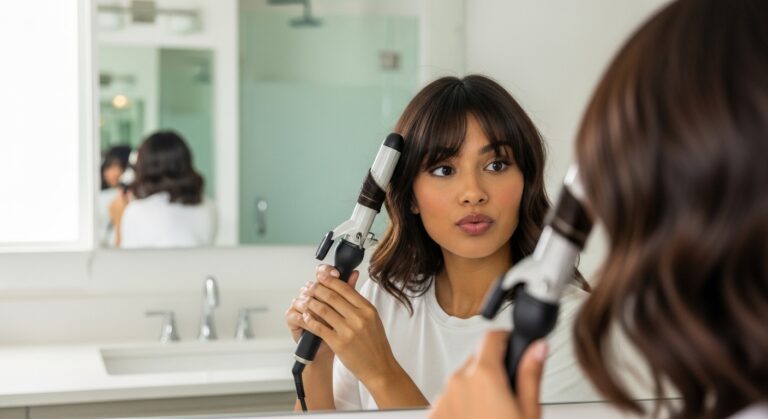
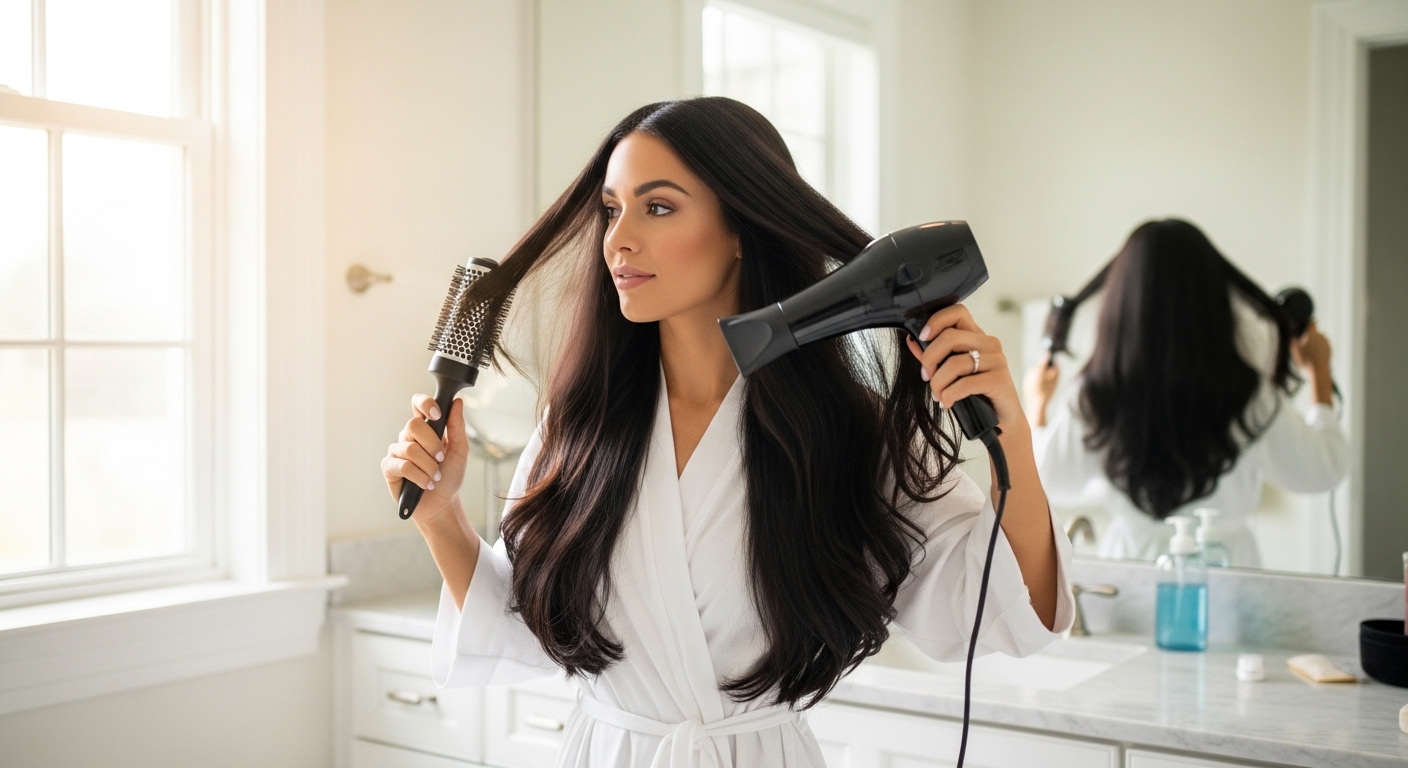
Master the Round Brush Technique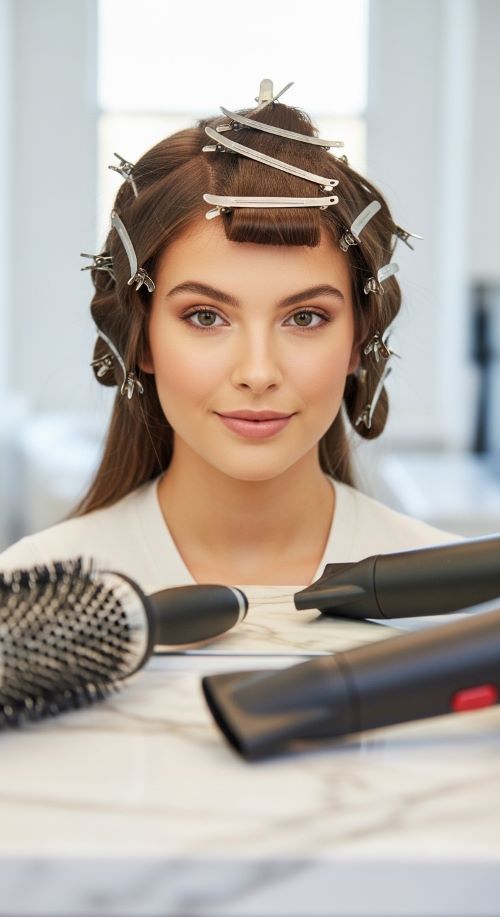
This is where your blowout truly comes to life. Start by dividing your hair into sections. Working in smaller sections gives you more control and helps create a smoother finish. Begin from the bottom layer and work your way upward toward the crown.
Place the round brush underneath a section of hair and pull it gently but firmly. Aim the dryer downward along the hair shaft to smooth the cuticle and reduce frizz. Slowly roll the brush while following closely with the heat from the dryer. Keeping the airflow directed downward is key to achieving that sleek, glossy look.
If you want more volume, slightly over-direct the hair by pulling it forward before rolling it back. To create a soft, polished finish, roll the ends inward. For a bit of playful movement, flick them slightly outward instead.
Lock in the Style with Cool Air
After each section is fully dry and shaped, use the cool shot button on your dryer. Blasting the hair with cool air before releasing it from the brush helps set the shape and boost shine. Allow the section to cool completely before touching or brushing through it. This small step makes a big difference in how long your blowout lasts.
Add the Perfect Finishing Touch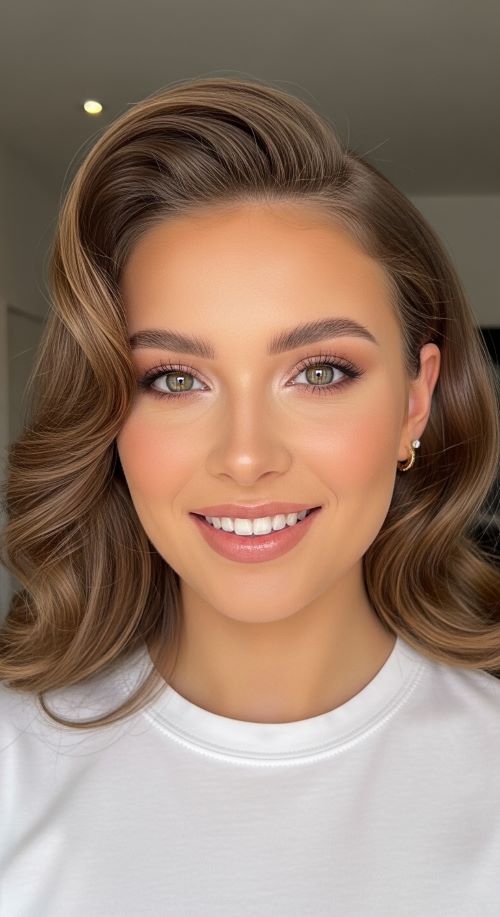
Now that your hair is dry and styled, it’s time to enhance the final look.
Apply a tiny drop of lightweight hair oil to the ends for extra shine. If you need hold, use a light mist of flexible hairspray to maintain bounce without stiffness. A texture spray can also add soft movement and dimension. Keep everything light so your hair stays flowy and touchable.
You can elevate your blowout further by adjusting your part slightly or tucking one side behind your ear for a modern finish. Small details can make your look feel fresh and styled.
Make Your Blowout Last Longer
To extend your blowout for two to three days, protect it while you sleep. A silk or satin pillowcase reduces friction and prevents frizz. You can also loosely wrap your hair in a high bun to preserve volume overnight. The next day, refresh your roots with a bit of dry shampoo to maintain lift and absorb excess oil. Try to avoid moisture and humidity, as they can quickly undo all your hard work.
Final Words
Achieving the perfect blowout at home isn’t about owning the most expensive tools. It’s about using the right techniques, working in sections, and taking your time. With a little practice, you’ll be able to create salon-worthy shine and volume whenever you want.
Give it a try and enjoy that fresh, confident feeling anytime you need a glow-up.
Save this guide for your next glam day!