How to Do a Dutch Braid for a Stunning New Look
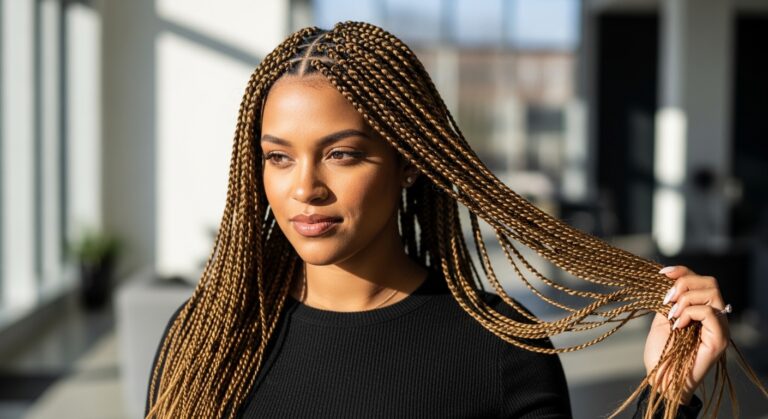
Want a hairstyle that’s effortlessly chic but looks way more complicated than it actually is? Enter the Dutch braid. This braid pops off your head for a bold, textured look that works for casual days, date nights, or even formal events. With just a little practice, you can transform your hair into a style that turns heads. Let’s break down exactly how to do a Dutch braid, step by step.
What Is a Dutch Braid?
Before diving in, it helps to know the difference between a Dutch braid and a regular braid. A Dutch braid is often called an “inside-out” braid. Instead of crossing strands over each other, you cross them under, which makes the braid appear raised, almost 3D.
Think of it as a French braid in reverse the braid sits on top of your hair rather than blending in. This gives it that signature “popped” look that’s perfect for showcasing your locks.
Step 1: Prep Your Hair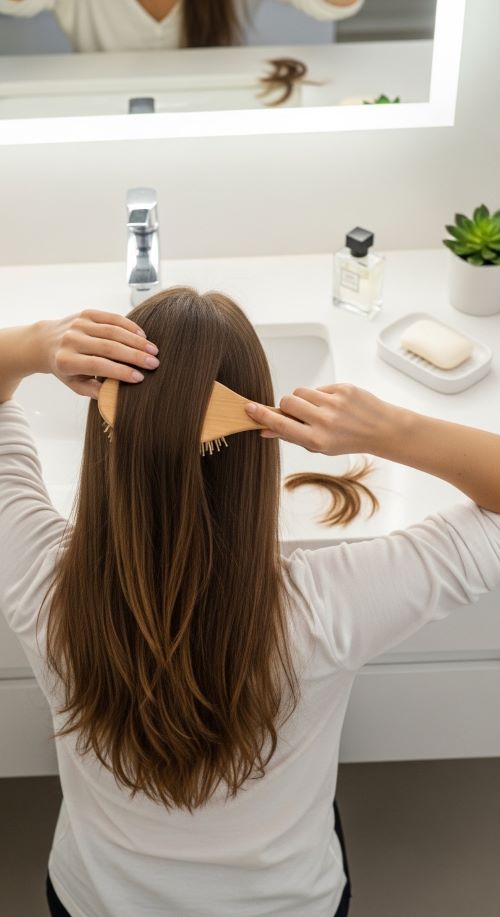
A smooth, tangle-free base makes braiding much easier. Start by brushing your hair thoroughly from roots to tips to remove knots. Adding a light texturizing spray or dry shampoo can give your hair some grip, helping the braid hold better. If your hair is thick or layered, consider clipping the lower sections out of the way until you finish the braid.
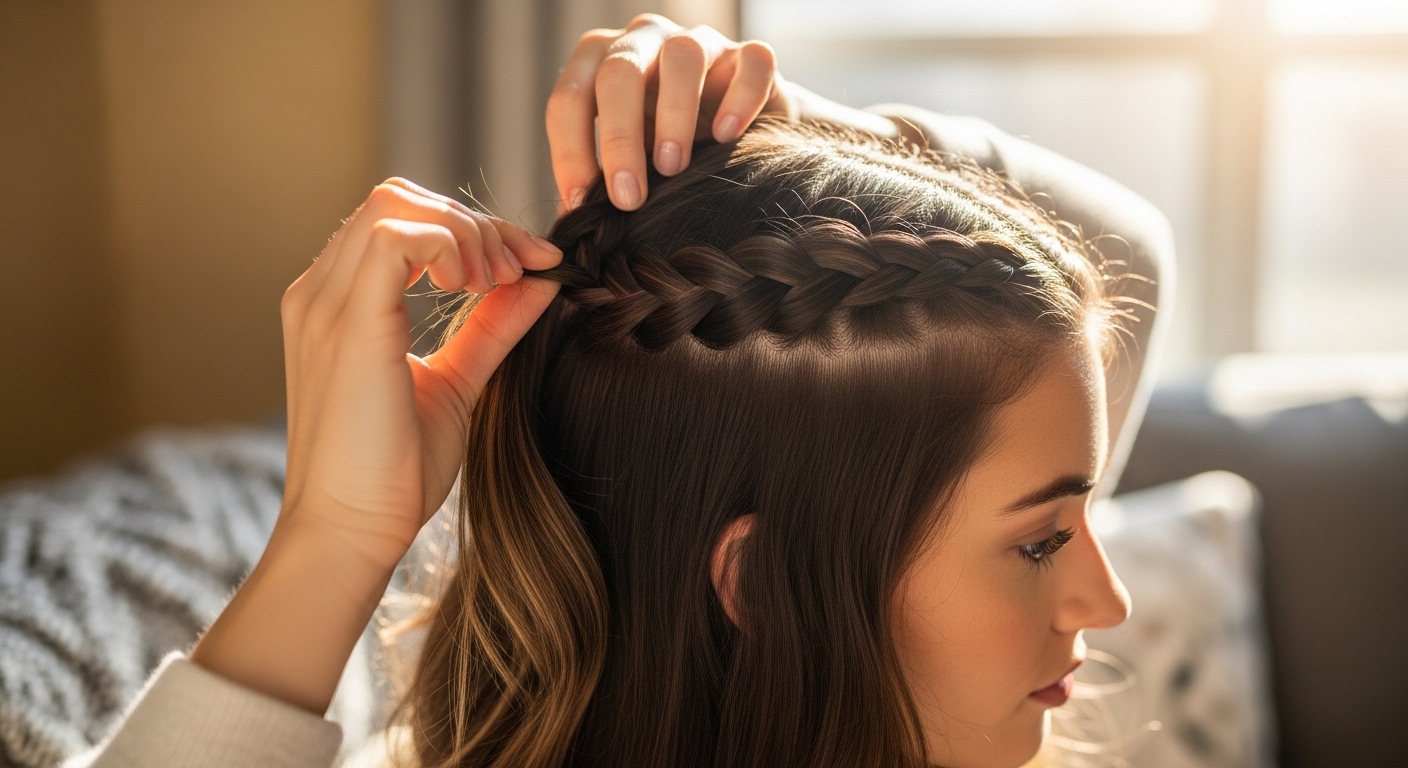
Step 2: Start at the Crown
Take a small section of hair at the top of your head where you want the braid to begin. Split this section into three equal strands. Begin a regular braid by crossing the side strands under the center strand, not over. This underhand technique is what creates the Dutch braid’s lifted look.
Keep your tension consistent tight enough to hold, loose enough to avoid scalp discomfort.
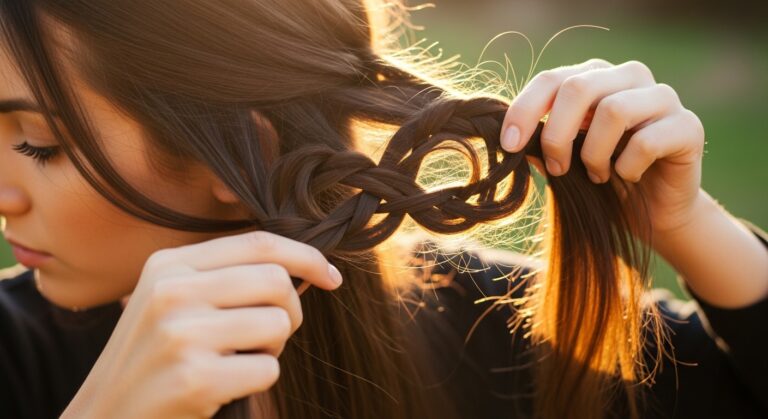
Step 3: Add Hair as You Go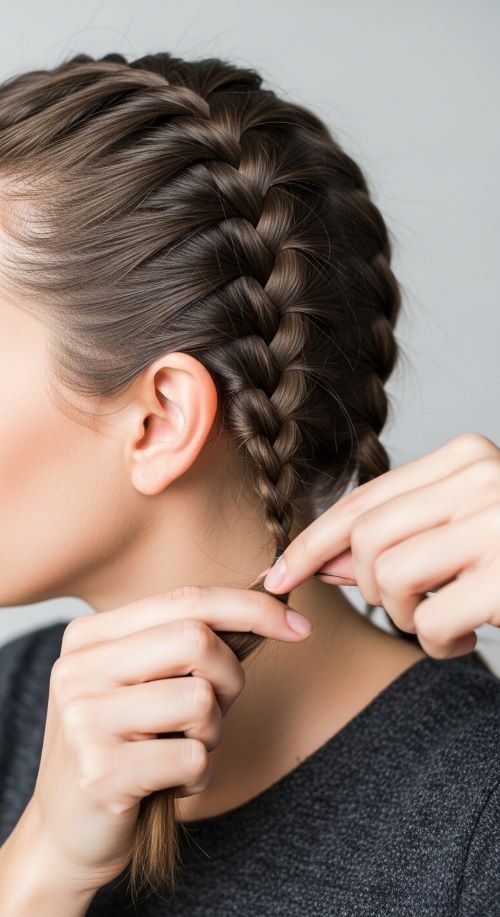
This is where the braid starts to weave in the rest of your hair. Add small sections of hair to each side strand before crossing it under the middle. Work your way down along your scalp, adding hair evenly on both sides. Keep your braid centered and straight, or slightly off-center for a modern twist.
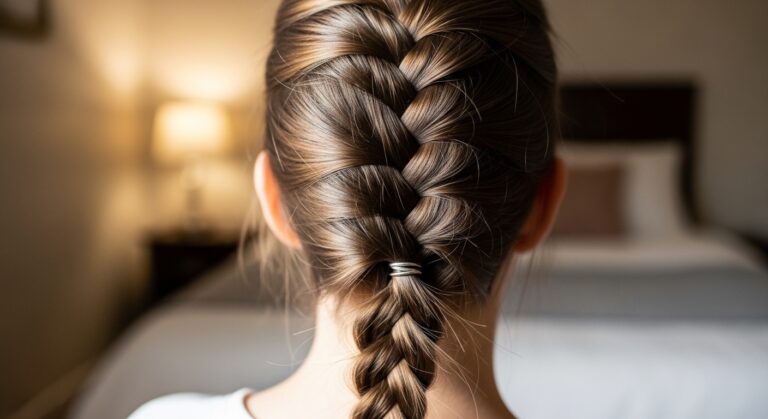
Step 4: Continue to the Nape of the Neck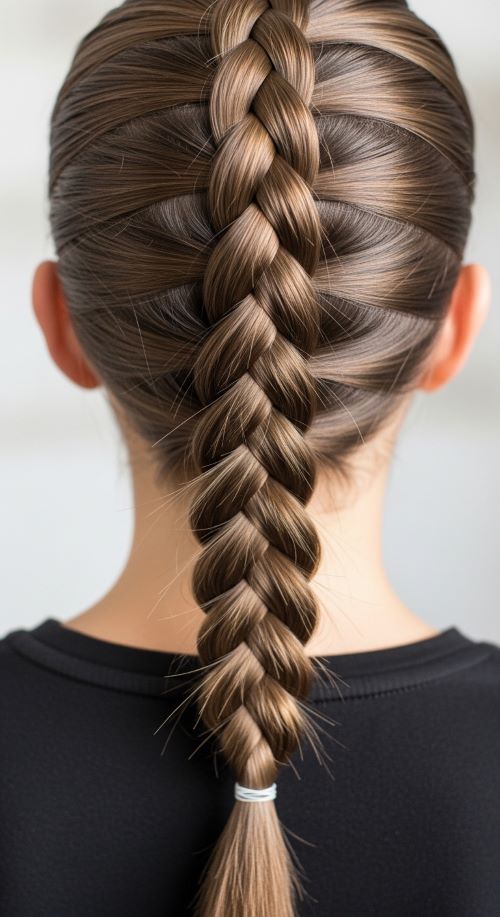
Once you reach the nape, continue a regular three-strand braid with the remaining hair. Cross the strands under each other until you reach the tips, then secure with a hair elastic. For a softer, more romantic look, gently pull at the braid’s edges to make it fuller.
Step 5: Add Finishing Touches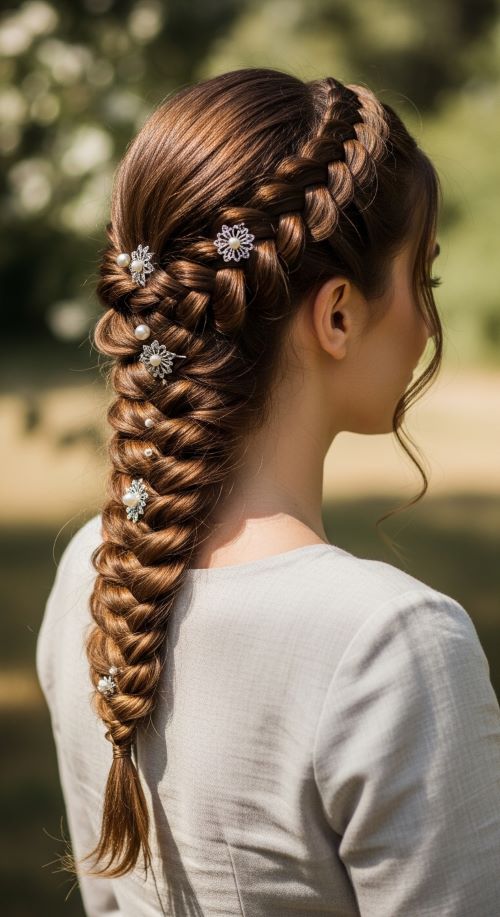
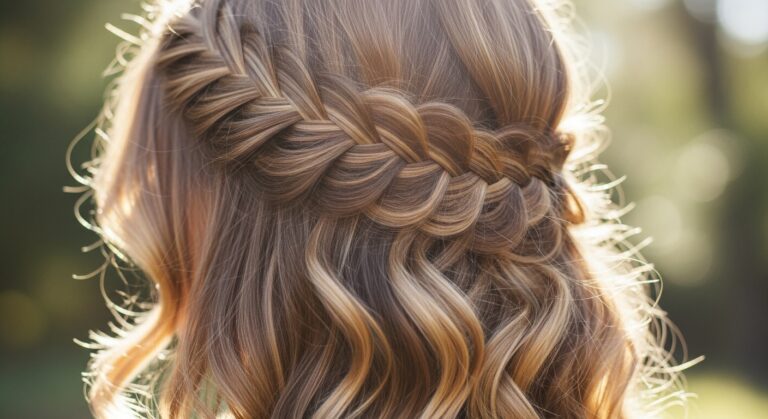
Tame flyaways with a light mist of hairspray or smoothing serum. You can accessorize with hairpins, flowers, or small clips for special occasions. For a playful twist, try braiding two Dutch braids on either side and joining them at the back for a crown effect.
Bonus Tips for a Perfect Dutch Braid
Practicing on slightly dirty hair can help because freshly washed hair can be slippery, making the braid harder to control. Use a handheld mirror to check the braid from different angles. Experiment with braid size: thicker strands give a chunkier, boho look, while thinner strands appear sleek and refined. Dutch braids also look amazing even when only braiding the top section of your hair for a half-up style.
Final Thoughts
The Dutch braid is more than just a hairstyle it’s a statement. Once you master the technique, it’s versatile enough for everyday wear, parties, and everything in between. Don’t worry if your first attempt isn’t perfect; braiding is all about practice and patience.
Give it a try today, experiment with accessories, and enjoy a stunning new look that’s uniquely yours!