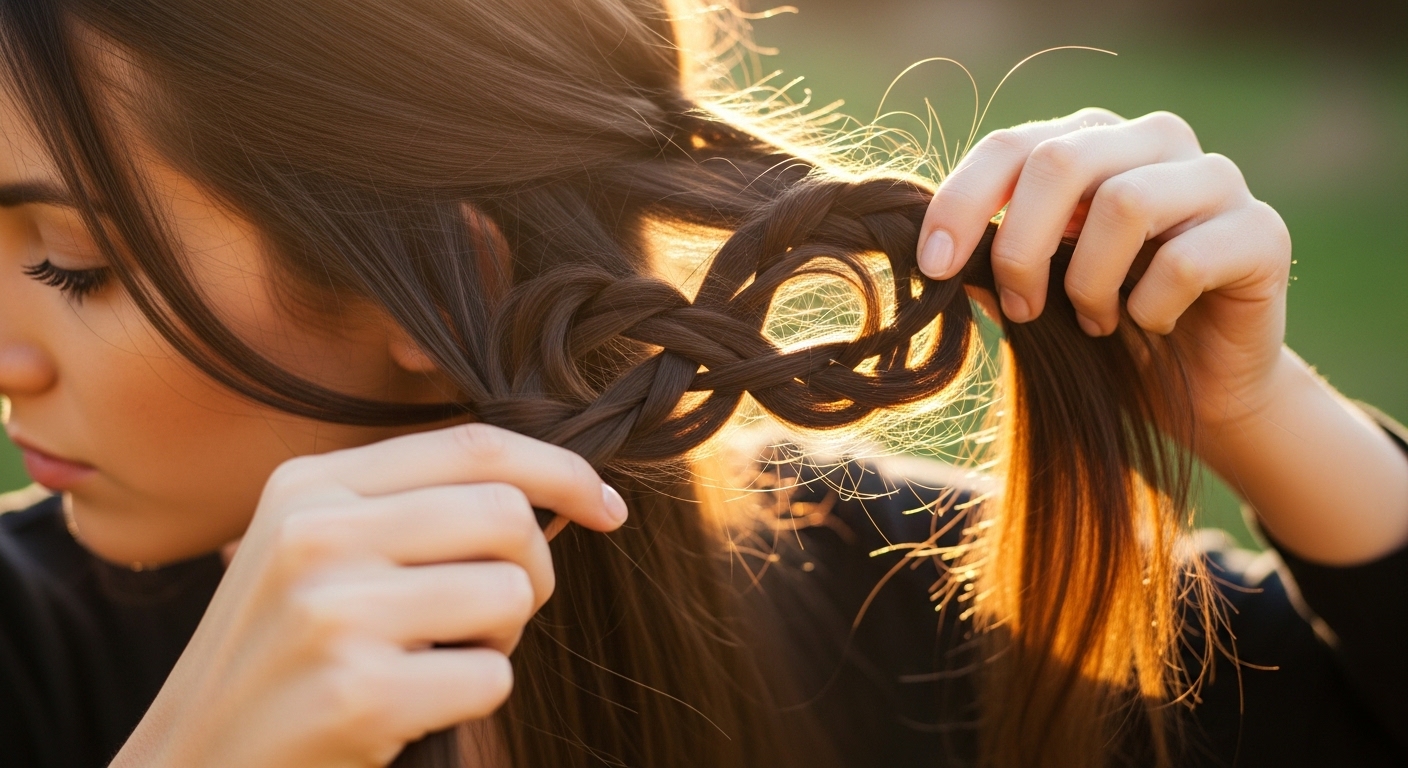
How to Do an Infinity Braid for a Stunning New Look
Want a hairstyle that turns heads but looks way more complicated than it actually is? Enter the infinity braid a twist on the classic braid that gives your hair an elegant, woven effect, perfect for brunches, date nights, or even weddings. This braid is stylish, chic, and surprisingly easier to master than it looks.
Whether you’re a hair newbie or a seasoned braider, this guide will take you step-by-step through the process so you can rock a look that’s both effortless and sophisticated.
What You’ll Need Before You Start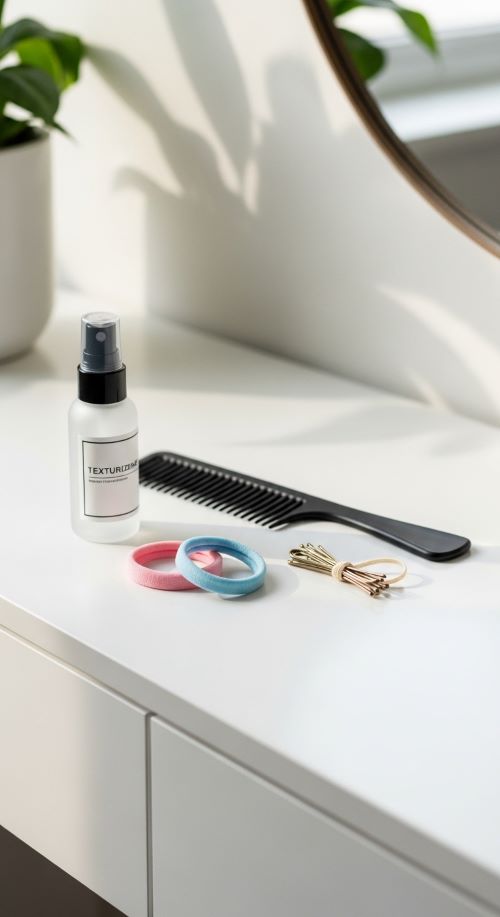
Before diving in, it’s a good idea to gather a few essentials. Keeping everything handy will make the braid process smoother and less stressful. You’ll need a fine-tooth comb for parting hair precisely, hair elastics (small and clear work best), bobby pins to secure loose ends, and hairspray or texturizing spray for extra grip. Optionally, a hair serum can help smooth frizz.
Pro tip: Slightly dirty hair actually holds braids better than freshly washed hair, so if your hair is silky-clean, consider adding a bit of dry shampoo or texturizing spray.
Step 1: Prep Your Hair
Start with brushed, detangled hair. A smooth base makes the braid easier to manage. Part your hair down the middle or slightly to one side, depending on your style preference. Then divide the hair into two sections where you want the braid to start—usually at the top of the head or slightly to the side for a diagonal effect. If your hair is very slippery, spritz lightly with texturizing spray. This helps the braid stay intact.
Tip: Loosely curl the ends if you want a more romantic, voluminous finish.
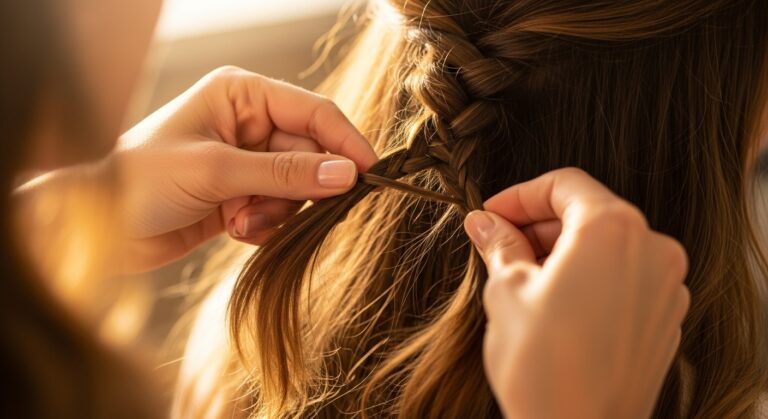
Step 2: Master the Infinity Braid Technique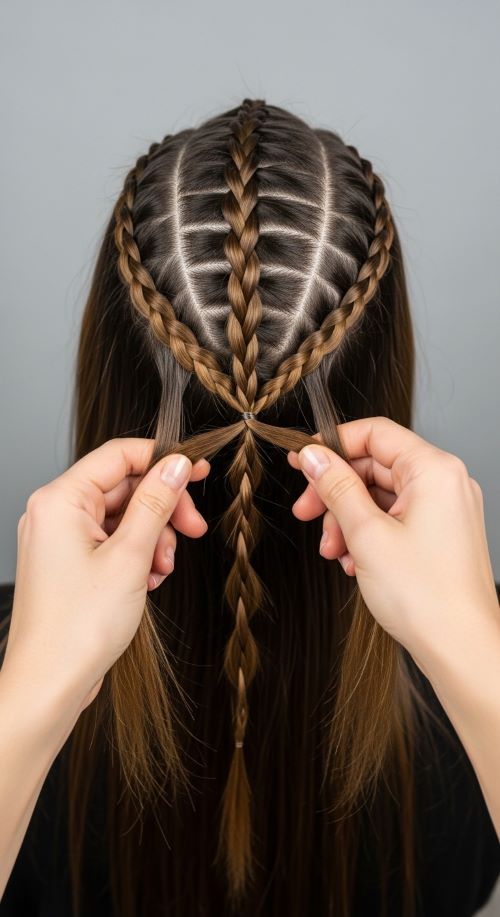
The infinity braid is all about looping small sections in a figure-eight pattern. Take a small section from the outer edge of one side, cross it under the middle section, and then over the other side, creating a “figure eight” loop. Repeat on the opposite side, alternating loops as you go down the length of your hair. Keep the loops tight at the start and gradually loosen them for a soft, full effect as you move toward the ends.
Pro tip: Think of it as weaving two ribbons together. The more you practice, the more intuitive it becomes.
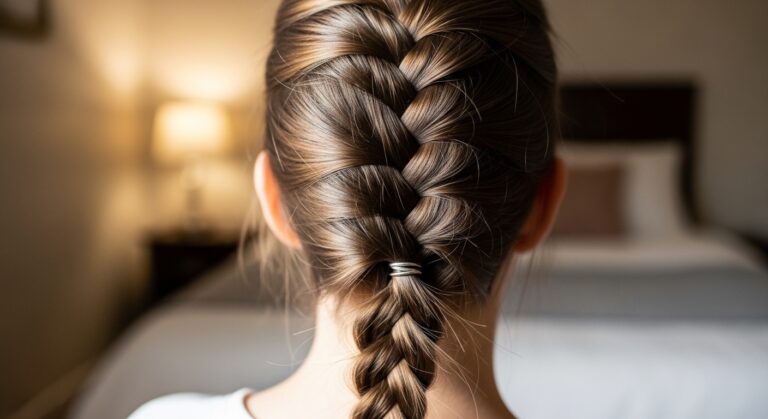
Step 3: Secure the Braid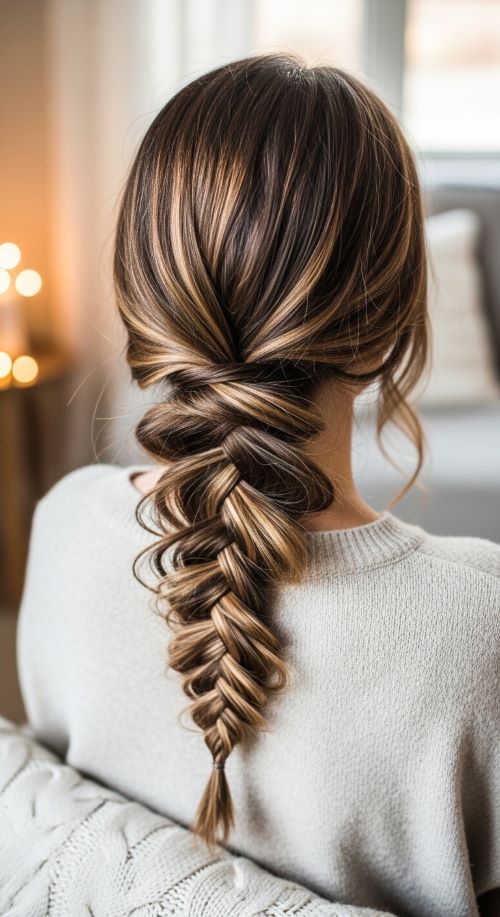
Once you’ve braided to the desired length, use a small elastic to secure the end. Tuck any loose strands with bobby pins for a polished look. Pull gently at sections along the braid to pancake it, giving it a fuller, more voluminous appearance.
Tip: Don’t worry if a few pieces fall out—they can add a romantic, effortless vibe.
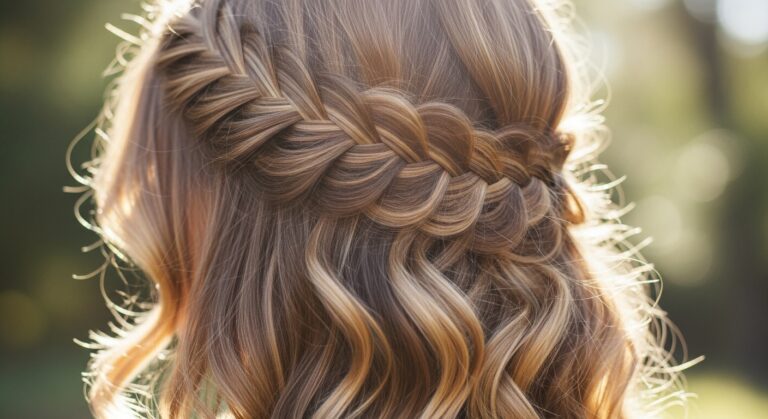
Step 4: Add Your Finishing Touches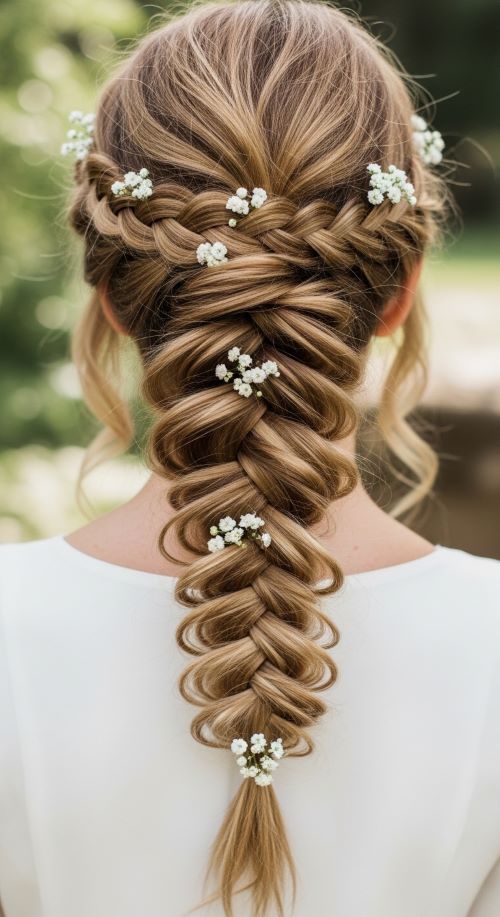
To make your braid truly shine, set it with hairspray for long-lasting hold. Add delicate pins, small flowers, or a ribbon to elevate the style for events. For extra texture, run your fingers gently through the loops to enhance the braid’s depth.
Pro tip: Infinity braids also look fantastic half-up, half-down. Simply braid the top half and leave the rest cascading naturally.
Bonus Tips for Braiding Success
Practice on slightly damp or second-day hair for easier grip. Use a mirror setup, one in front and one behind, to check symmetry. And remember, messy is stylish—loose strands add dimension and charm.
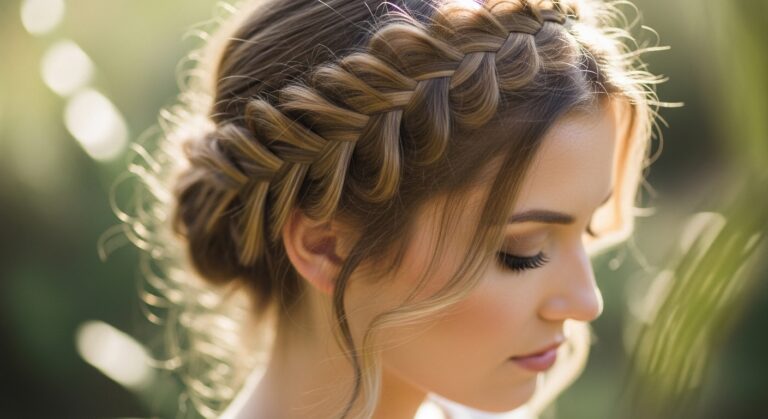
Your Stunning New Look
And there you have it! A beautifully crafted infinity braid that looks complex but is surprisingly manageable. With a bit of practice and the right tools, this braid will become your go-to style for both casual and elegant occasions.
Give it a try, experiment with accessories, and make this braid your signature statement.