
How to Do a Hair Wrap for a Stunning New Look
Want to instantly elevate your style without a major haircut or color change? Hair wraps are a fun, versatile way to add color, texture, and personality to your look—no salon appointment needed. Whether you’re prepping for a festival, a night out, or just want a chic, boho vibe, a hair wrap can completely transform your hairstyle.
Hair wraps are decorative threads woven into your hair, sometimes with beads or charms, that can last for days or weeks depending on your hair type and care routine. Let’s dive into how to do a hair wrap step by step, plus some tips for keeping it looking flawless.
What You’ll Need for a Hair Wrap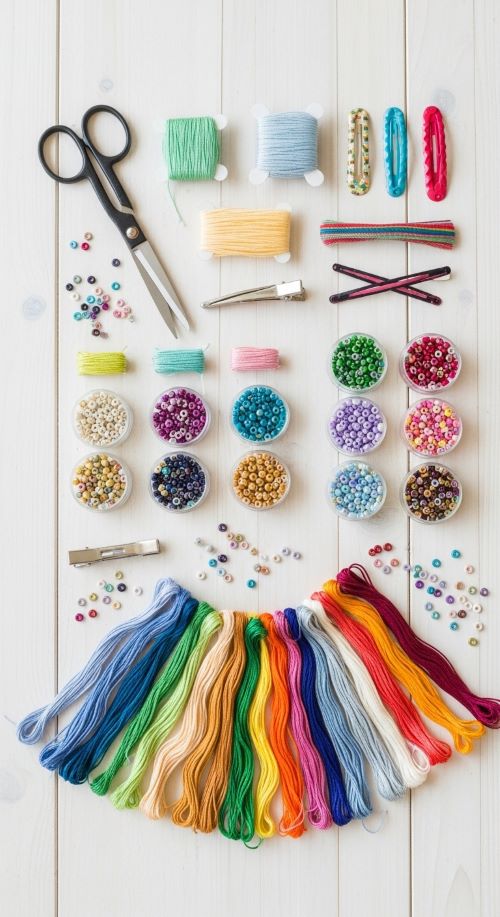
Before you start, gather your supplies. You don’t need anything fancy—just a few basics to get a professional-looking result. You’ll want colorful embroidery threads or yarns—two to four colors that complement each other. Small beads or charms are optional, but they add extra flair. Hair clips or elastic bands help keep sections in place while wrapping. Don’t forget scissors for trimming threads and a comb or brush to detangle your hair before wrapping.
Step 1: Prep Your Hair
Proper prep ensures your hair wrap stays neat and lasts longer. Start with clean, dry, and tangle-free hair. Decide where you want the wrap—typically a small section at the side or near the ends—and separate that section with a clip or elastic band to keep it isolated. Hair that is slightly textured or wavy holds wraps better than perfectly silky hair. If your hair is too smooth, lightly braid the section first to give the threads something to grip.
Step 2: Measure and Cut Your Threads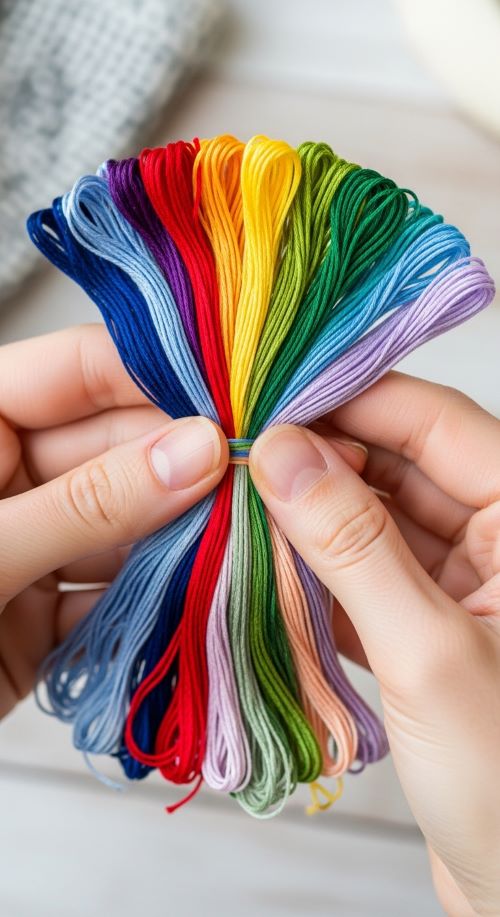
You don’t want your threads too short or too long. Take your chosen threads and cut them about two to three times the length of the section you’re wrapping. Tie all threads together at one end; this knot will anchor your wrap.
Step 3: Start Wrapping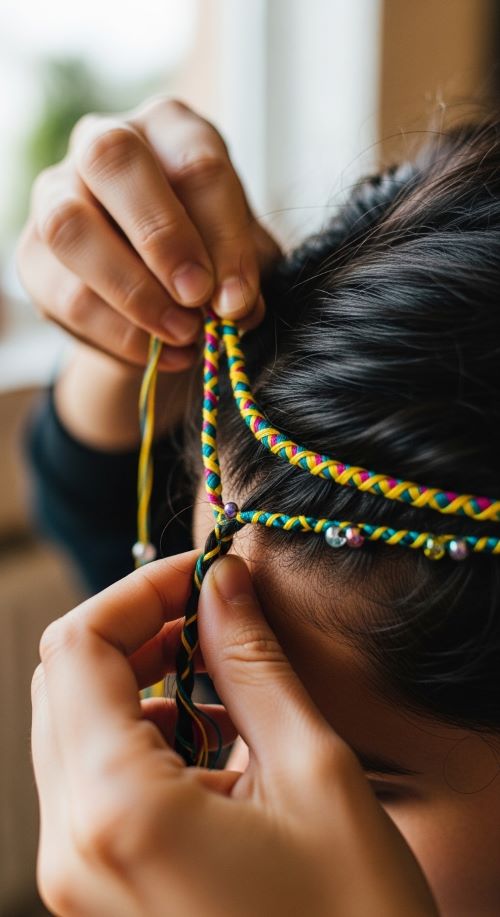
This is where the magic happens. Fold your bundle in half and position the looped end at the top of your hair section. Secure the loop with a tiny elastic band at the root. Begin wrapping each thread around the hair, keeping them tight but not pulling too hard. Alternate colors for a fun pattern, or add beads as you go. Continue until you reach the desired length. If you’re adding beads, thread them onto the strands before wrapping that section of hair.
Step 4: Secure the End
Finishing your hair wrap properly ensures it won’t unravel. Tie a small knot at the end of your wrap and trim any excess threads, leaving about half an inch. For extra security, a tiny dab of hair wax or clear nail polish on the knot works wonders. Be careful not to tie too tightly near the scalp—it can be uncomfortable and damage hair.
Step 5: Styling and Maintenance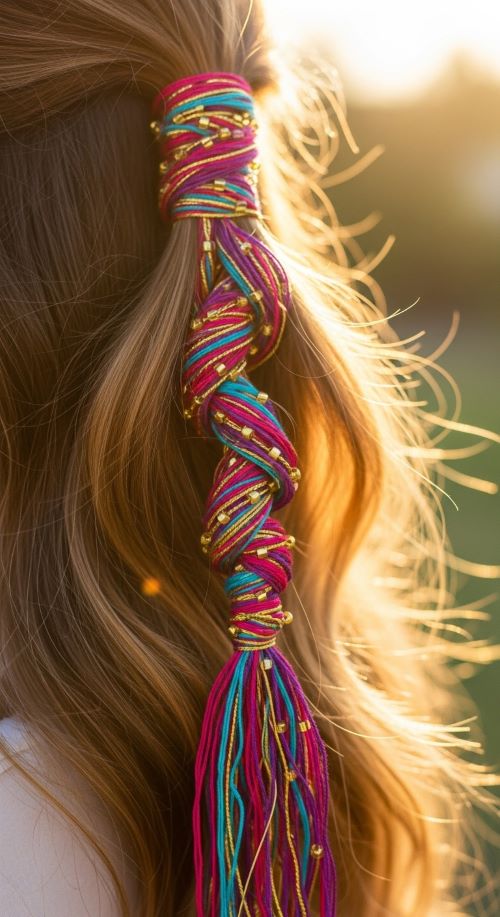
Once your wrap is in place, style your hair as usual. You can leave the rest of your hair loose, braid it, or twist it into a bun. Hair wraps are low-maintenance but need some care. Avoid sleeping with wet hair wrapped, and wrap your hair in a silk scarf at night to prevent frizz. Wash gently around the wrapped section if needed to keep it looking fresh.
Fun Tips and Variations
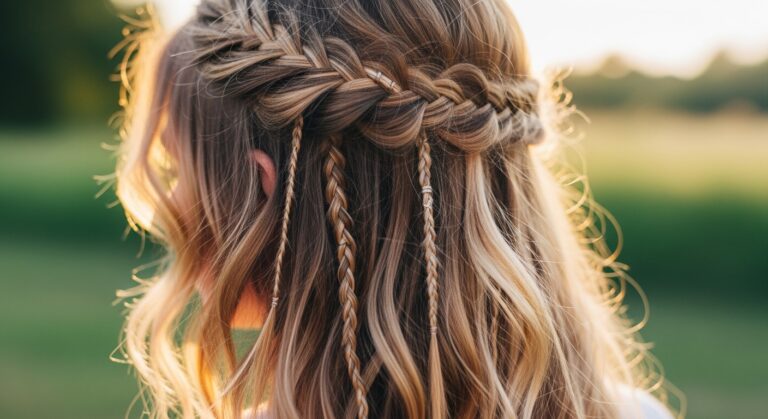
Mix textures by combining yarn with metallic threads or thin ribbons for a boho-chic look. Layer wraps by adding two or three small wraps on different sections for a playful effect. Choose neon threads for a festival vibe or pastels for subtle elegance. Tiny charms like stars, moons, or geometric beads give a unique personal touch.
Hair wraps are an easy, creative way to refresh your look without permanent changes. Whether it’s a single statement wrap or multiple colorful strands woven through your hair, the result is instant personality and flair. Grab your threads, gather some beads, and start wrapping your way to a stunning new look!