
How to Do a Messy French Twist for a Stunning New Look
If you’ve ever admired the effortlessly chic hairstyles in magazines or on Pinterest, the messy French twist might be at the top of your list. It’s elegant, versatile, and perfect for turning a simple outfit into a showstopper. The best part? Despite looking sophisticated, it’s surprisingly easy to do once you get the hang of it. In this guide, we’ll walk you through everything you need to know to create a messy French twist that’s both stunning and approachable.
Why the Messy French Twist Works
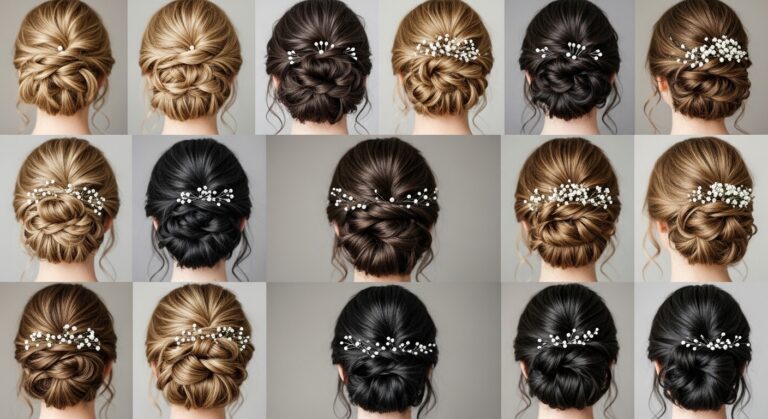
The messy French twist has taken over Pinterest boards and Instagram feeds for good reason. Unlike the traditional French twist, which can look overly formal or stiff, the messy version feels modern and relaxed. It works beautifully for weddings and formal events, casual brunches or coffee dates, and even workdays when you want to look polished but effortless. Its versatility makes it a go-to hairstyle for anyone wanting to elevate their look without spending hours in front of the mirror.
What You’ll Need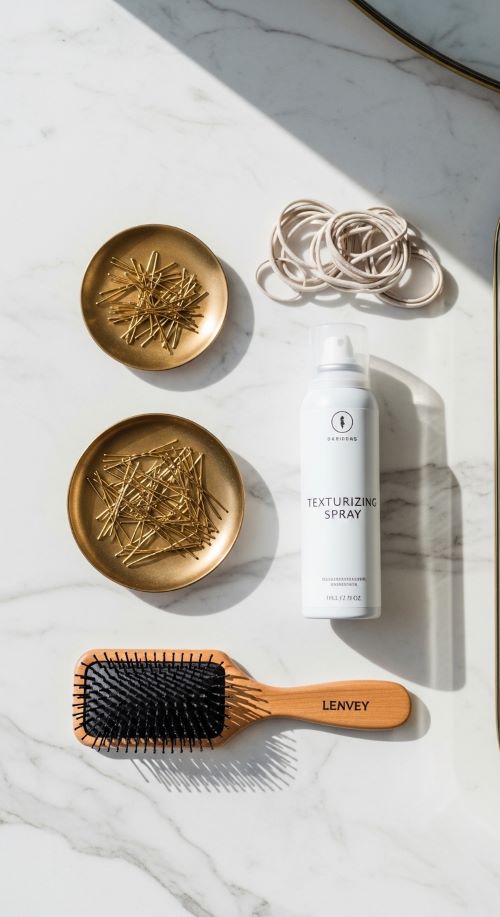
Before you start twisting and tucking, gather your tools. Bobby pins are essential for holding the twist in place, while hair elastics help secure the base before twisting. A teasing comb or brush adds volume, and texturizing spray or dry shampoo gives grip and fullness to your hair. Finish with hairspray to set the style and prevent flyaways.
Step 1: Prep Your Hair
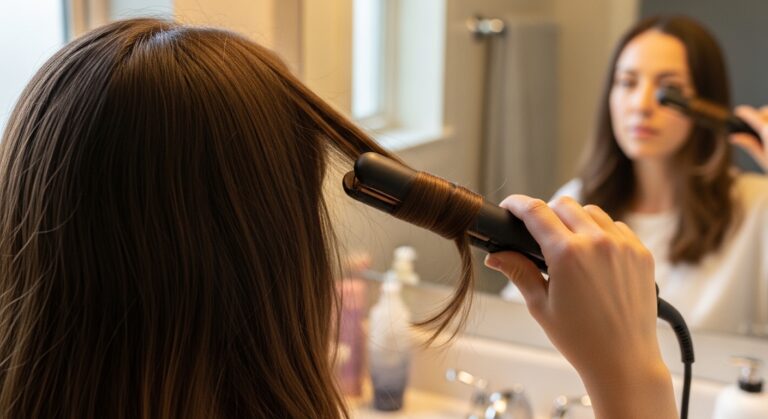
The key to a flawless messy French twist is in the prep. Start with hair that isn’t freshly washed, as slightly dirty hair holds better. Apply a small amount of texturizing spray or dry shampoo at the roots and brush through lightly to remove tangles. Section off the top part of your hair if you want extra volume at the crown.
Teasing the crown slightly adds height and dimension, making your twist look effortless rather than flat.
Step 2: Create the Twist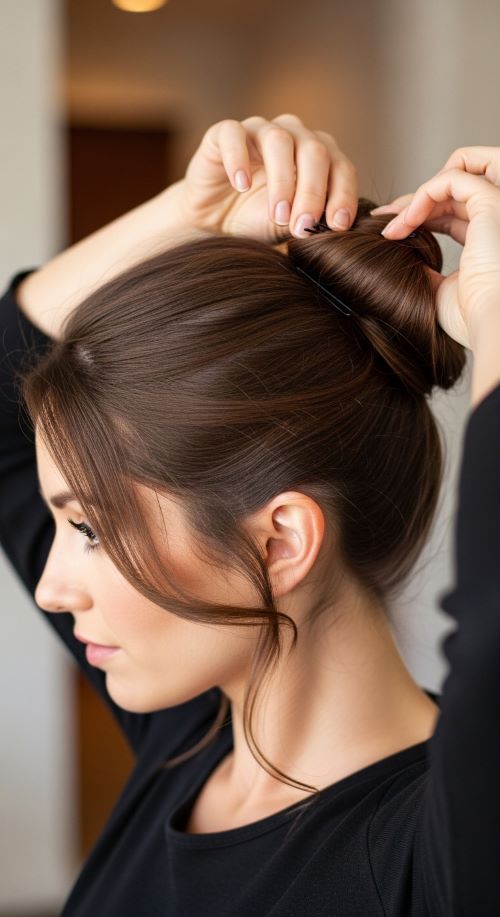
Now comes the fun part: the twist. Gather your hair as if you’re making a low ponytail. Hold it at the nape of your neck and start twisting upwards. Don’t worry about perfection — the messier, the better! Tuck the ends into the twist and secure them with bobby pins.
Using pins in a crisscross pattern will give extra hold. If some strands fall out, let them! This adds to the casual, romantic vibe.
Step 3: Perfect the Messy Look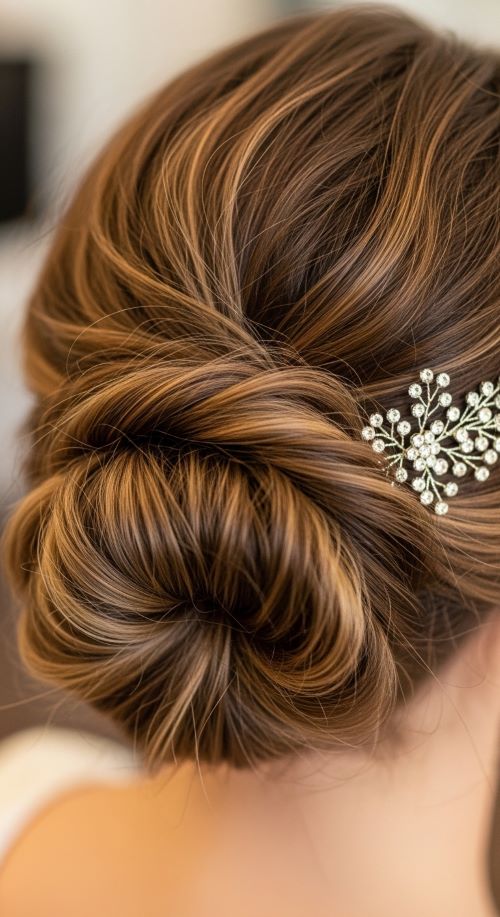
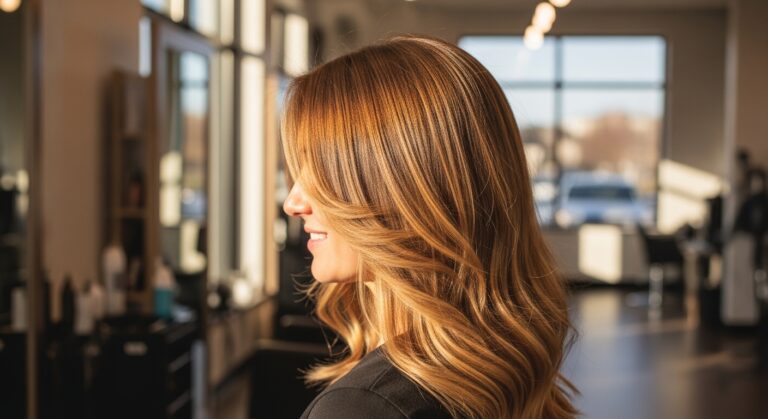
A messy French twist is all about balance. Pull out a few strands around your face to soften the look, then gently tug at sections of the twist to create volume and texture. Mist lightly with hairspray to hold the shape without making it stiff.
Optional accessories like a decorative hairpin or clip can add extra flair.
Step 4: Finishing Touches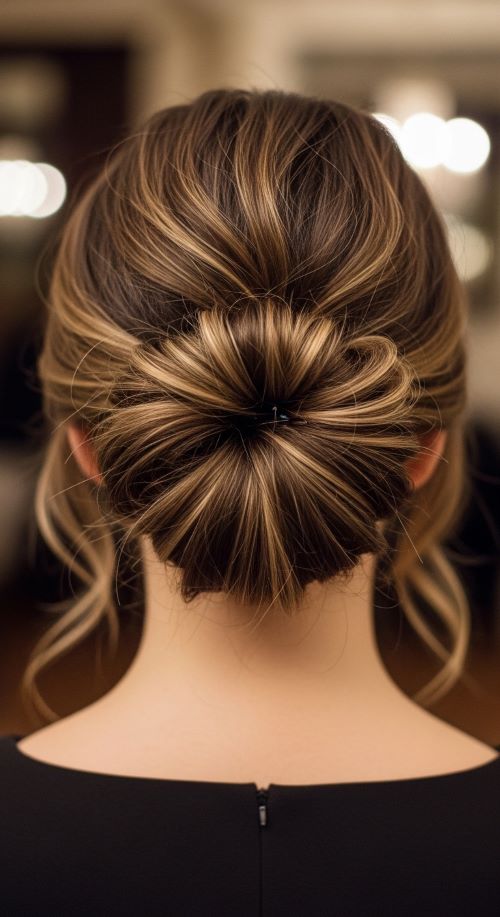
Take a final look in the mirror and adjust as needed. For fine hair, backcomb the twist lightly to create more fullness. For thick hair, use stronger bobby pins and consider a second layer of pins for security. Don’t obsess over symmetry imperfection is what makes this style charming!
Final Words
Practice makes perfect. Start with a half-up twist before tackling your full hair. Use a mirror at different angles to ensure the twist looks good from all sides. Keep a few extra bobby pins handy — they’re lifesavers when strands pop out.
The messy French twist is a perfect example of beauty in imperfection. It’s sophisticated without being fussy and can instantly upgrade any look. With a little practice and these easy steps, you’ll be able to create a style that’s both stunning and effortlessly chic.
Save this guide for your next hair adventure your messy French twist masterpiece is just a few pins away!