
How to Do a Side Braid for a Stunning New Look
Looking for a quick way to change up your hairstyle without hours in front of the mirror? A side braid is your answer. Effortlessly chic, versatile, and surprisingly easy to master, a side braid can transform even a simple outfit into something Instagram-worthy. Whether you’re heading to brunch, a wedding, or just running errands, this look adds an instant touch of elegance.
In this guide, we’ll walk you through the steps, share tips for making it last all day, and give you styling ideas to keep your side braid fresh and fun.
Step 1: Prep Your Hair for Braiding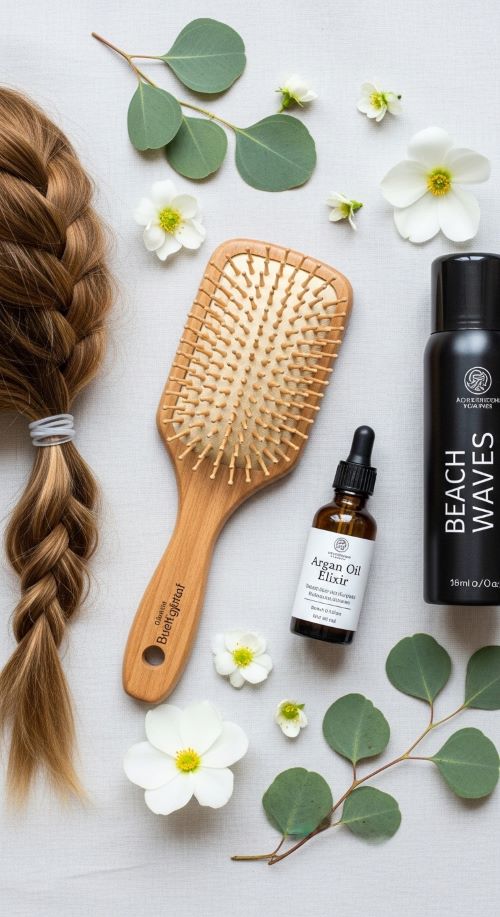
Before you start braiding, your hair needs a little prep. Clean, dry hair works best, but second-day hair can add some texture and grip. Brush your hair thoroughly to remove knots and apply a small amount of texturizing spray or dry shampoo for extra hold. If you want a smoother braid, a light serum or leave-in conditioner can help reduce frizz and make your hair easier to manage.
Step 2: Choose Your Side
Decide which side you want your braid to fall. For a more flattering look, pick the side opposite your dominant hand as it’s easier to braid that way. If you’re right-handed, try braiding over your left shoulder. If you’re left-handed, go for the right. This small choice can make a big difference in how effortless your braid looks.
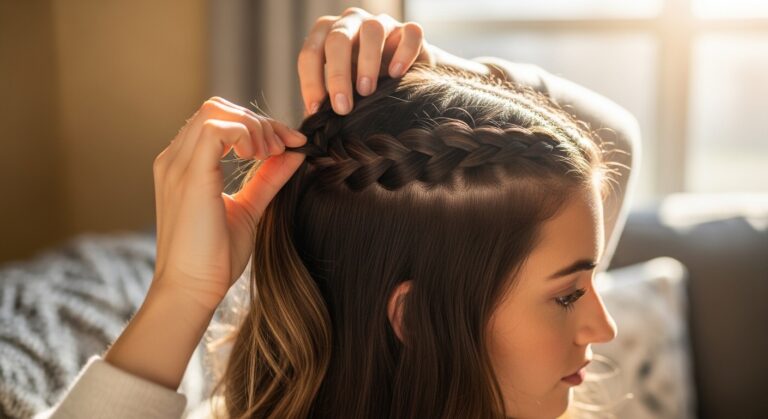
Step 3: Section Your Hair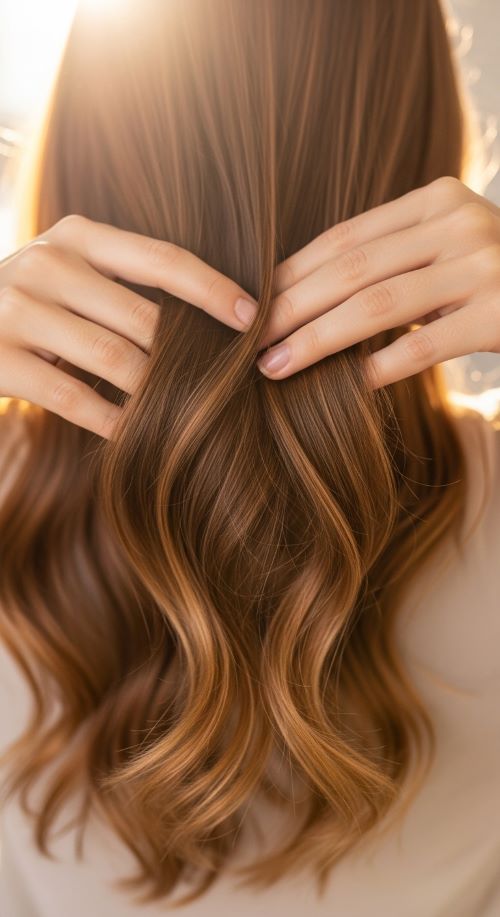
For a classic side braid, divide your hair into three even sections. For a more textured or boho look, you can pull in small pieces from around your face as you braid. Sweep all your hair over the chosen shoulder, separate it into three roughly equal strands, and hold the right section in your right hand, the left in your left hand, and the middle strand in the remaining hand.
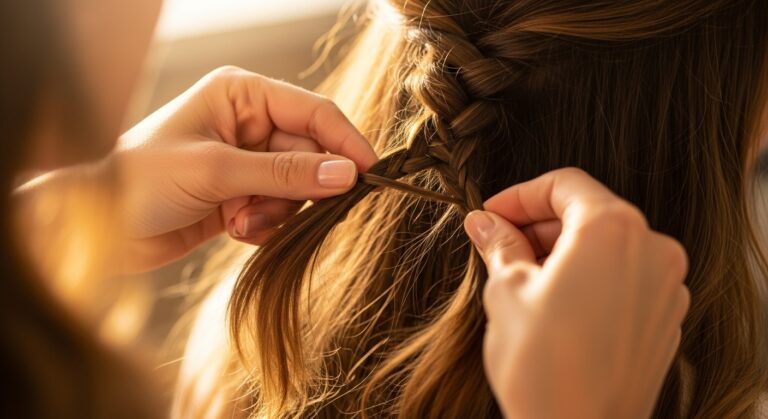
Step 4: Start Braiding
Now the fun begins. Cross the right strand over the middle, then cross the left strand over the new middle, repeating this pattern down the length of your hair. For a looser, lived-in look, gently pull at the edges of the braid after securing it with an elastic. Tug on a few strands near your face for a relaxed, effortless vibe. If your hair is layered, letting shorter pieces frame your face adds softness.
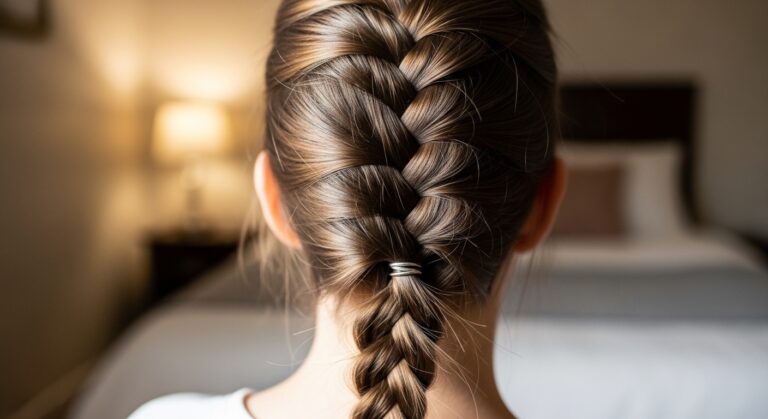
Step 5: Secure and Style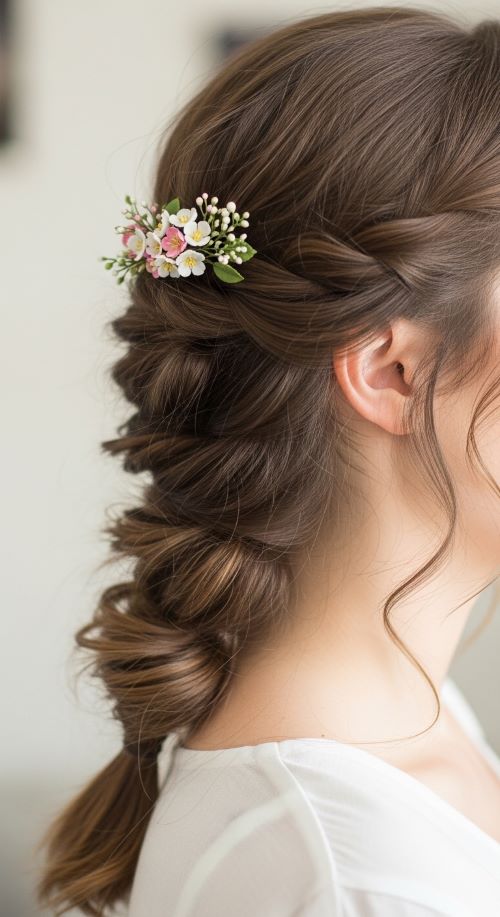
Once you reach the end of your braid, secure it with a small clear elastic. You can leave the braid tight for a polished look or gently pancake the braid by pulling the sections slightly apart for a fuller, romantic effect. Add a ribbon or small hair accessory for flair, spray a light-hold hairspray to tame flyaways, and loosen a few strands around the face to soften the overall style.
Step 6: Mix It Up with Variations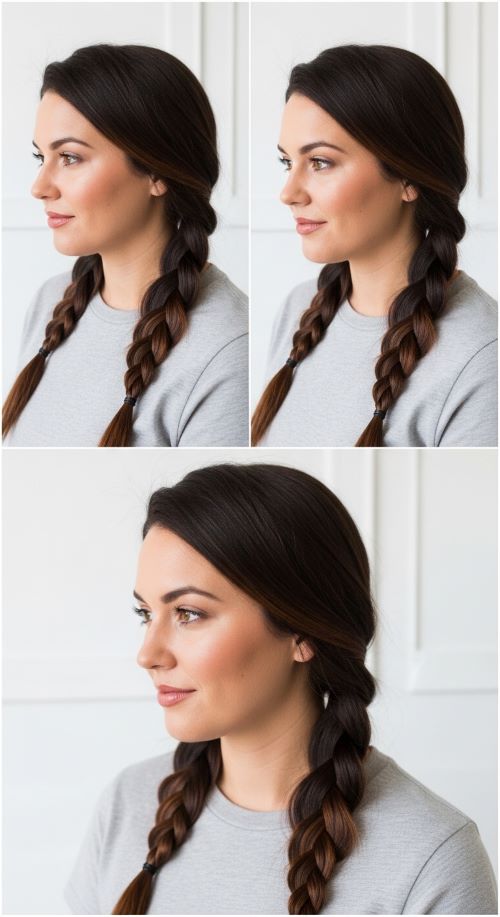
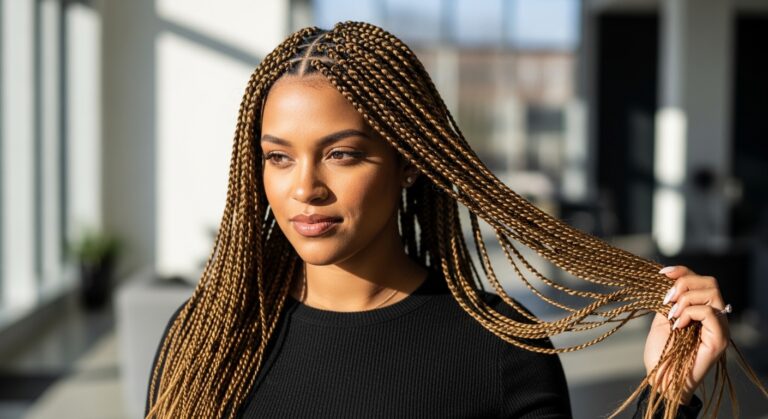
Once you’ve mastered the basic side braid, you can experiment with variations. A fishtail braid creates a more intricate, eye-catching texture. A Dutch braid is raised and pops off the head for extra dimension. For a simpler, elegant alternative, try a twisted braid, which involves twisting two strands together instead of the usual three. Each variation adds a unique touch while keeping the braid over the shoulder for maximum wow factor.
Step 7: Maintain Your Braid All Day
A side braid looks stunning at first, but keeping it neat requires a few tricks. Sleep with a silk scarf or pillowcase to reduce friction. Re-secure with small bobby pins if strands loosen. Refresh texture with a little dry shampoo or texturizing spray in the evening. With minimal touch-ups, your braid can last from morning coffee to evening dinner.
Final Words
A side braid is more than just a hairstyle—it’s a quick way to elevate your look and show off your personal style. From messy and boho to sleek and polished, there’s a side braid for every occasion. Give it a try today and watch how something as simple as a braid can completely change your vibe.
Take a photo after styling it’s amazing how a small braid can turn into a full-on statement.
Save this guide for later and start experimenting with your own stunning side braids!